Crocheting a sphere might seem daunting at first. After all, how do you create a perfect three-dimensional shape from simple loops of yarn? But fear not, fellow crocheters! With some basic techniques and a bit of practice, you’ll be crocheting beautiful spheres in no time. This guide will walk you through everything you need to know, from choosing the right materials to shaping your sphere and finishing it off.
Materials:
- Yarn: Choose a yarn weight and color that suits your project. For beginners, worsted weight yarn is a good option as it’s easy to see your stitches.
- Crochet hook: Select a hook size appropriate for your chosen yarn weight. Refer to the yarn label for recommendations.
- Tapestry needle (optional): This will help you weave in your ends neatly.
- Stuffing (optional): If you’re making a ball or a plush toy, you’ll need stuffing to fill your sphere.

Getting Started:
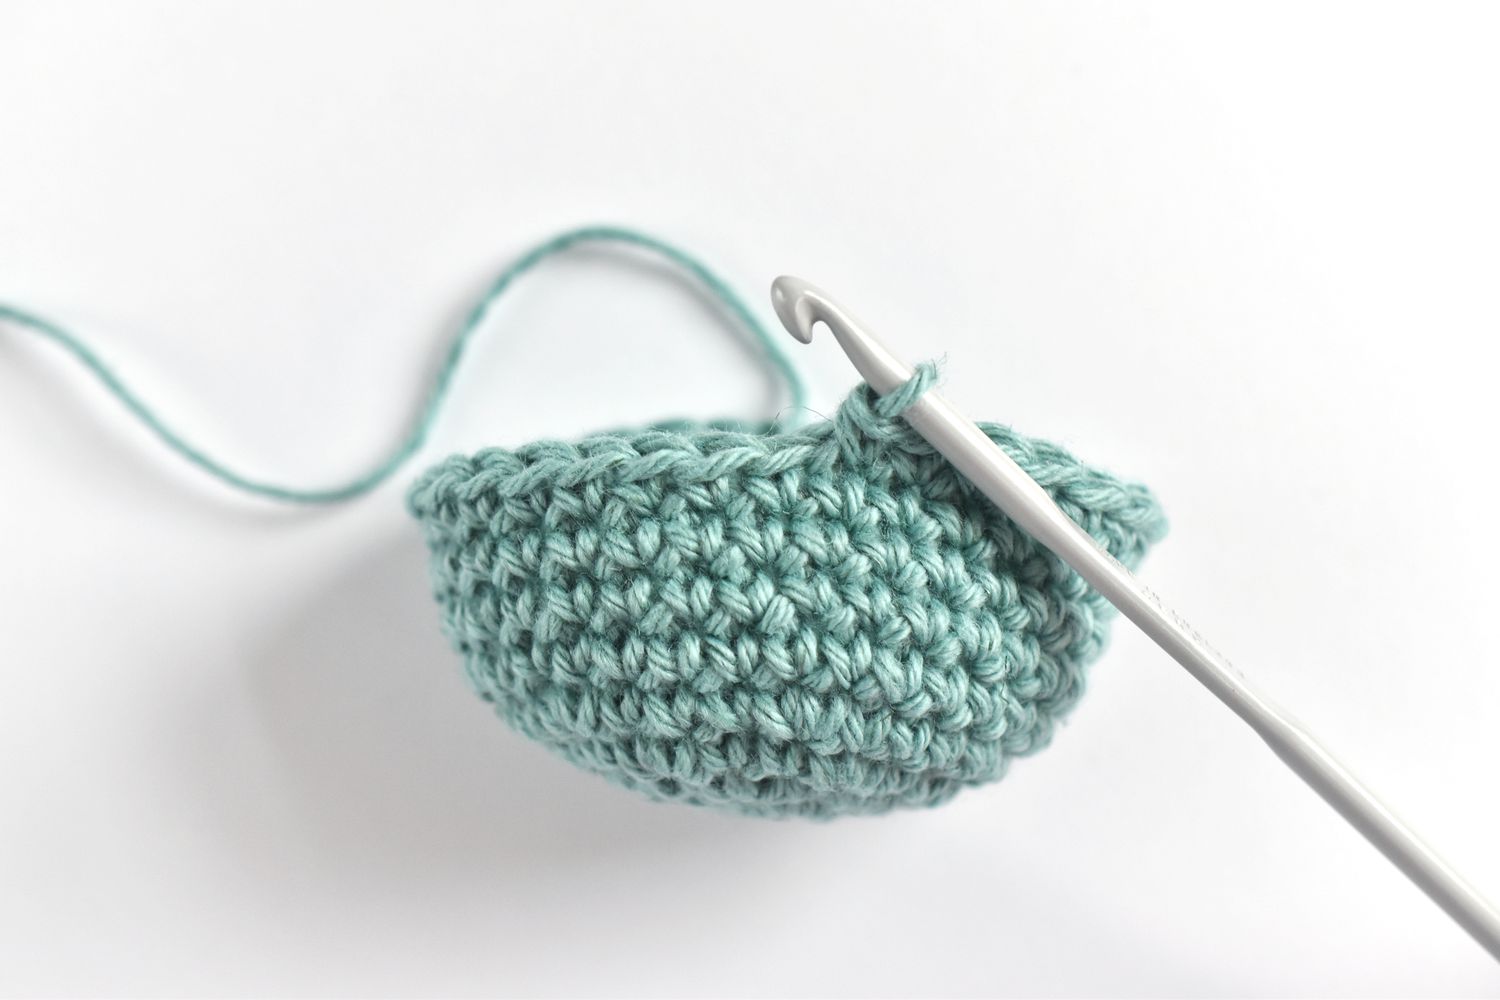
The foundation for your sphere is a crocheted circle. There are two common methods: the magic ring and a chain ring.
- Magic Ring: This method creates a tight center, ideal for spheres. To make a magic ring, pinch a short length of yarn between your thumb and index finger. Wrap the yarn around your thumb twice, then insert your crochet hook under both loops. Yarn over and pull a loop through the two loops on your thumb. [You can find video tutorials for the magic ring technique online if you need a visual guide.]
- Chain Ring: Make a chain of a few stitches (typically 4-6), then slip stitch into the first chain to form a ring.

Building the Sphere:
Once you have your base ring, it’s time to start shaping the sphere. Here’s the core technique:
- Increase Stitches: In each round, you’ll add stitches strategically to create a curved shape that gradually expands outward. This is typically done by crocheting two stitches into one or more existing stitches. The specific number of increases and their placement will depend on the pattern you choose.
- Single Crochet Stitches: Between the increases, you’ll usually crochet single crochets (sc) into each remaining stitch in the round. This creates the body of your sphere.
- Repeat: Continue alternating increase rounds with single crochet rounds until your sphere reaches the desired size.

Shaping Tips:
- Number of Increases: The number of increases per round determines how quickly your sphere curves. More increases create a faster curve, resulting in a flatter sphere. Fewer increases create a slower curve, leading to a more pronounced sphere shape.
- Placement of Increases: Evenly distribute your increases around the circle in each round. This ensures your sphere grows uniformly.
- Maintaining Tension: Consistent tension is key for a smooth sphere. Aim for stitches that are neither too tight nor too loose.
Following a Pattern or Freehanding?
There are two main approaches to crocheting a sphere:
- Following a Pattern: This is the recommended approach for beginners. Patterns provide detailed instructions on the number of stitches, increase placement, and round-by-round guidance. You can find free sphere crochet patterns online or in crochet magazines.
- Freehanding: Once you’re comfortable with the basic techniques, you can try crocheting a sphere without a specific pattern. This requires a good understanding of how increases and single crochets work together to create a curved shape.

Finishing Touches:
Once your sphere is the desired size, fasten off your yarn by tying a knot and weaving in the ends with a tapestry needle. If you’re making a ball or a toy, stuff it with stuffing before fastening off. You can also add embellishments like buttons, embroidery, or appliques to personalize your creation.
Beyond the Basics:
With the foundation of crocheting a sphere mastered, you can explore various techniques and applications. Here are some exciting possibilities:
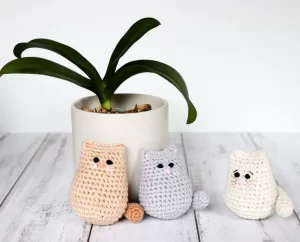
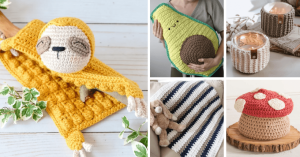
- Amigurumi: Amigurumi are small, crocheted characters or objects. Spheres are a common base for amigurumi heads, bodies, or other round shapes.
- Textured Spheres: Experiment with different crochet stitches like double crochets or textured stitches to create spheres with unique surface textures.
- Colorwork: Use multiple yarn colors to create striped, patterned, or color-blocked spheres.

Troubleshooting Tips
Don’t fret! Troubleshooting is a natural part of the learning process. Here are some common issues you might encounter and how to fix them:
Uneven Sphere:
- Problem: Your sphere is lopsided or bulging in some areas.
- Possible Causes: Inconsistent stitch tension, uneven increase distribution.
- Solutions:
- Pay close attention to maintaining even tension throughout your stitches.
- Double-check your increase placement to ensure they’re spaced evenly around the circle.
- You can try stuffing the uneven areas more to even out the shape (for spheres that will be stuffed).
Gaps or Holes:
- Problem: There are small gaps or holes between your stitches.
- Possible Causes: Stitches are too loose, missed stitches.
- Solutions:
- Adjust your crochet tension to create tighter stitches.
- Carefully examine your work for missed stitches and try to correct them using a crochet hook.
- In some cases, small gaps might be unavoidable, especially in early rounds. Stuffing can help conceal them in the finished sphere.
Sphere Not Round Enough:
- Problem: Your sphere appears more like a disc than a round shape.
- Possible Causes: Not enough increases per round.
- Solutions:
- Consider using a pattern that calls for more frequent increases.
- If freehanding, try adding a few extra increases in each round until the sphere starts to curve more noticeably.
Sphere Too Round:
- Problem: Your sphere is more like a ball than a pronounced sphere shape.
- Possible Causes: Too many increases per round.
- Solutions:
- Use a pattern with fewer increases or space your increases further apart in each round.
- If freehanding, try reducing the number of increases per round until you achieve the desired curve.
General Tips:
- Check Your Work Regularly: Take a moment after each round to inspect your sphere for any issues. The sooner you catch a mistake, the easier it is to fix.
- Use Stitch Markers: Place stitch markers at the beginning of each round to help you maintain consistent placement of increases.
- Frogging (Unraveling): Don’t be afraid to undo your stitches (frogging) if you encounter a major problem. It’s better to start over on a clean slate than continue with a flawed piece.
- Practice Makes Perfect: The more you crochet spheres, the better you’ll become at identifying and preventing issues.
By following these tips and practicing your technique, you’ll be troubleshooting your crocheted spheres like a pro in no time!
Final Notes:
Crocheting a sphere is a rewarding skill that opens doors to many creative projects. Don’t be discouraged if your first attempt isn’t perfect. Practice makes progress, and with a little patience and these helpful tips, you’ll be crocheting beautiful, spherical creations in no time!