Crocheting a flat circle is a fundamental skill that forms the basis for many beautiful and functional projects. From coasters and potholders to appliques and amigurumi (stuffed toys), mastering this technique opens doors to a world of creative possibilities. This comprehensive guide will walk you through the essential steps of crocheting a flat circle, equipping you with the knowledge and confidence to tackle various projects.
Flat circles: Choosing the Right Tools
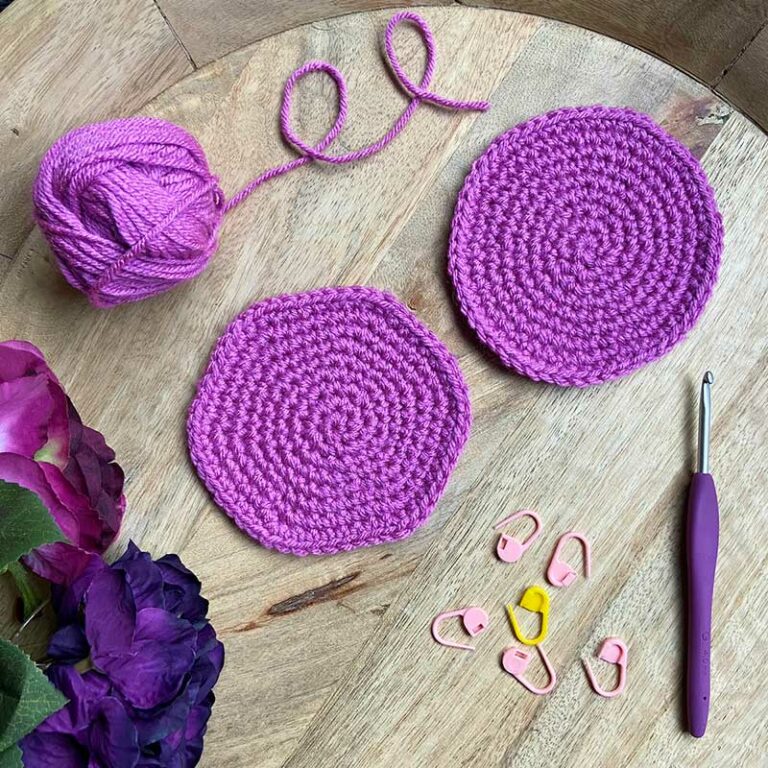
Before diving into the world of crocheting flat circles, let’s gather the necessary tools.
- Yarn: The type of yarn you choose will depend on the intended purpose of your flat circle. For beginners, acrylic yarn is a popular choice due to its affordability and ease of handling. Cotton yarn is another excellent option, offering breathability and durability. If you’re aiming for a more luxurious feel, explore yarns like wool or cashmere.
- Crochet Hook: The size of your crochet hook should be compatible with the chosen yarn weight. Typically, yarn labels provide recommendations for suitable hook sizes. Opting for a hook slightly larger than recommended can help create a looser fabric, ideal for flat circles.
- Scissors: You’ll need scissors to snip the yarn at the beginning and end of your project.
- Tapestry Needle (Optional): A tapestry needle helps weave in yarn ends for a neat finish.
Getting Started: Basic Techniques
Crocheting a flat circle involves creating a center and then working outward in rounds, gradually increasing the number of stitches to maintain a circular shape. Here’s a breakdown of the essential techniques you’ll need to know:
- Magic Ring (Optional): The magic ring is a popular method for starting a circle without leaving a hole in the center. If you’re new to this technique, don’t worry! You can simply chain a few stitches and join them with a slip stitch to create a starting loop.
- Single Crochet (SC): This is the most fundamental crochet stitch. To make a single crochet, insert your hook into the stitch indicated in the pattern, yarn over, pull a loop through the stitch, yarn over again, and pull through both loops on your hook.
- Increasing: To create a flat circle, you’ll need to increase the number of stitches in each round. There are different ways to achieve this, such as working two single crochets into each stitch of the previous round (referred to as “2 sc in each st”). The specific increase method will depend on the pattern you’re following.
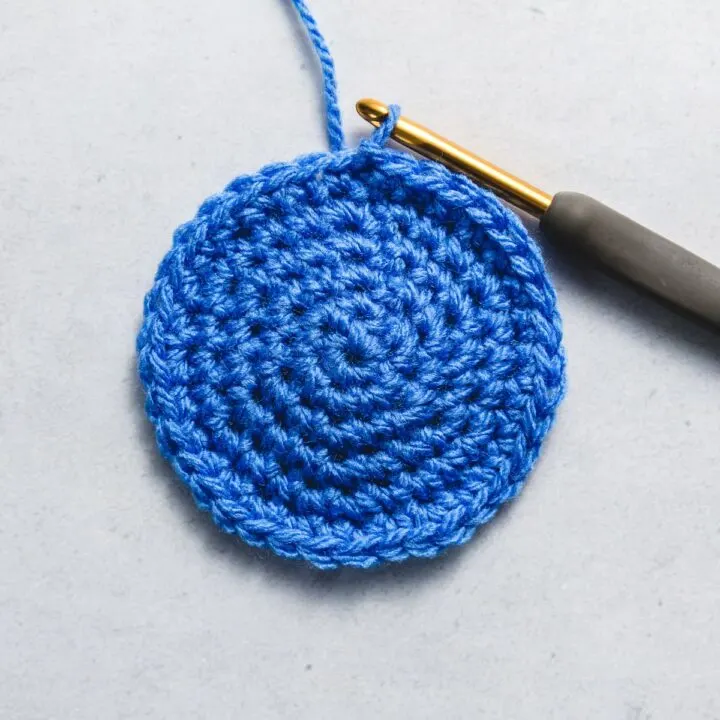
Crocheting Your flat circles: Step-by-Step Guide
Now that you’re familiar with the tools and techniques, let’s put them into action! Here’s a step-by-step guide to crocheting a basic flat circle:
Make a magic ring or starting loop.
If you’re using a magic ring, follow the instructions for its creation. Otherwise, chain 4 stitches and slip stitch the first chain to the fourth chain to form a loop.
Work the first round.
The number of stitches you crochet in the first round will determine the size of your finished circle. Here’s a general guideline:
- For a small circle (around 2-3 inches), crochet 6-8 single crochets into the loop or magic ring.
- For a medium circle (around 4-5 inches), crochet 8-10 single crochets.
- For a large circle (around 6-8 inches or more), crochet 10-12 single crochets.
Increase in the second round.
Here’s where your flat circle starts to take shape! To increase, you’ll typically crochet two single crochets into each stitch of the previous round. So, if you made 8 single crochets in round one, you’ll crochet 16 single crochets in round two (2 sc in each of the 8 stitches from round one).
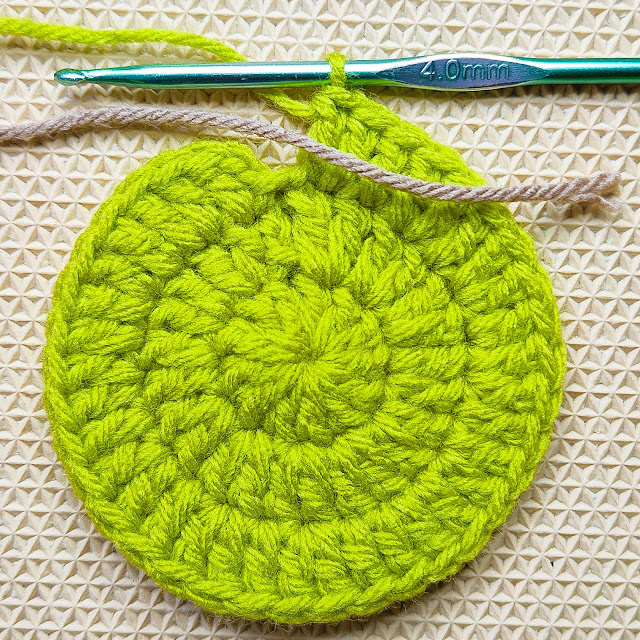
Continue increasing and crocheting in rounds.
Follow the same principle for subsequent rounds. Increase the number of stitches based on your starting stitch count and maintain a consistent increase pattern (e.g., 2 sc in each st, 3 sc in each st, and so on). Remember, the more stitches you increase in each round, the faster your circle will grow.
Check your flat circles size.
As you crochet, periodically check the size of your circle against your desired measurement. You can do this by laying it flat and measuring its diameter with a ruler.
Stop crocheting when you reach the desired size.
Once your circle reaches the appropriate diameter, crochet one final round without increasing. This creates a clean, finished edge.
Fasten off and weave in ends.
Cut the yarn, leaving a tail long enough to weave in. Using Using a tapestry needle (or the hook itself in a pinch), weave the yarn tail through the back loops of a few stitches to secure it. Trim any excess yarn close to the circle.
Beyond the Basics: Tips and Techniques
Now that you’ve mastered the fundamental technique, here are some tips and tricks to elevate your flat circle crocheting:
- Experiment with different stitch types: While single crochet is a popular choice for flat circles, you can explore other stitches like double crochet, half double crochet, or even textured stitches to create unique visual effects.
- Control the tightness of your stitches: Maintaining consistent tension is crucial for achieving a neat and even circle. Aim for stitches that are neither too loose nor too tight. Practice crocheting a few rounds to get a feel for the right tension.
- Marking the center (optional): If you’re working on a large circle or a project that requires precise placement of future rounds, you can mark the center stitch of each round with a removable stitch marker. This helps maintain a symmetrical circle shape.
- Changing colors (optional): Want to add a pop of color to your flat circle? You can seamlessly switch yarn colors at the end of a round or within a round depending on the desired effect. Be sure to weave in the ends of the old color securely before starting with the new one.
Granny squares
Granny squares are a type of crocheted motif that is made up of rounds of clusters of double crochets, separated by chain spaces. They are a versatile and easy-to-make building block for a variety of crocheted projects, such as blankets, afghans, potholders, and stuffed animals.
Granny squares are typically made in a square shape, but they can also be made in other shapes, such as hexagons, triangles, and circles. The size of a granny square can be varied by using different yarn weights and hook sizes.
Putting Your flat circles to Use: Project Ideas
The possibilities for using crocheted flat circles are endless! Here are a few inspiring project ideas to get you started:
- Coasters: Crocheted coasters are a practical and stylish addition to any coffee table. Use contrasting colors or variegated yarn to create eye-catching designs.
- Potholders: Protect your hands with colorful crocheted potholders. Choose heat-resistant yarn for added functionality.
- Appliques: Embellish clothing, bags, or home decor with crocheted flat circles. They can be simple circles or embellished with embroidery or buttons.
- Granny Squares: These classic squares are essentially flat circles made with alternating colors. They can be joined together to create blankets, pillows, or bags.
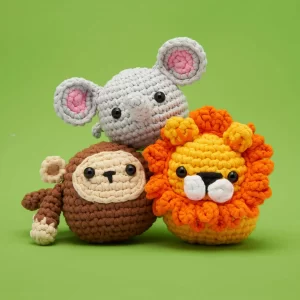
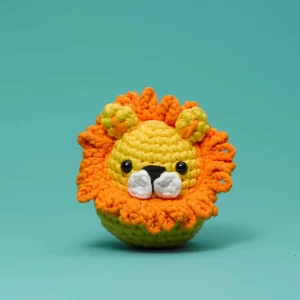
- Amigurumi: Many amigurumi patterns incorporate flat circles for body parts like heads or ears. Mastering flat circles opens doors to the world of adorable crocheted creatures.
No matter your skill level, crocheting flat circles is a rewarding and versatile skill. With a bit of practice and these helpful tips, you’ll be creating beautiful and functional projects in no time. So, grab your yarn and hook, and get ready to unleash your creativity!