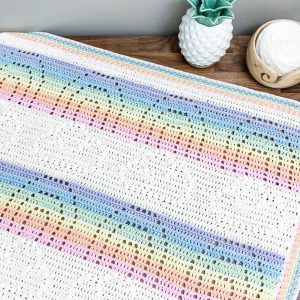
Crochet blocking might sound intimidating to beginners, but it’s a fundamental technique that elevates your finished projects from simply complete to polished and professional. In essence, blocking is the process of using moisture to gently coax your crocheted piece into its intended shape and size. This step refines the stitch definition, evens out any inconsistencies, and allows the yarn to bloom to its full potential, resulting in a crisp, polished look.
While blocking might seem like an optional afterthought, it’s surprisingly beneficial for a variety of crocheted projects. Let’s delve into the reasons why blocking should become an integral part of your crocheting routine.
Why Block Your Crochet Projects?
-
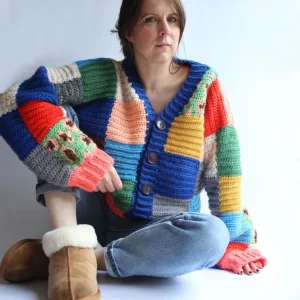
Achieve Accurate Dimensions: Crochet tension can vary slightly throughout a project, even for experienced crocheters. Blocking helps even out these inconsistencies, ensuring your project matches the specified measurements in the pattern. This is especially crucial for garments and wearables where proper fit is essential.
-
Sharpen Stitch Definition: Blocking helps stitches lay flat and crisp, allowing intricate patterns and textures to truly shine. This is particularly noticeable in lacework, cables, and textured stitches.
-
Eliminate Curling Edges: Crochet projects often curl at the edges due to the natural bias of the stitches. Blocking relaxes the fibers and allows them to lay flat, creating a neat and finished look.
-
Soften the Fabric: Blocking can soften the overall feel of your crocheted piece, making it more pleasant to wear or use. This is especially beneficial for projects made with stiff or scratchy yarns.
-
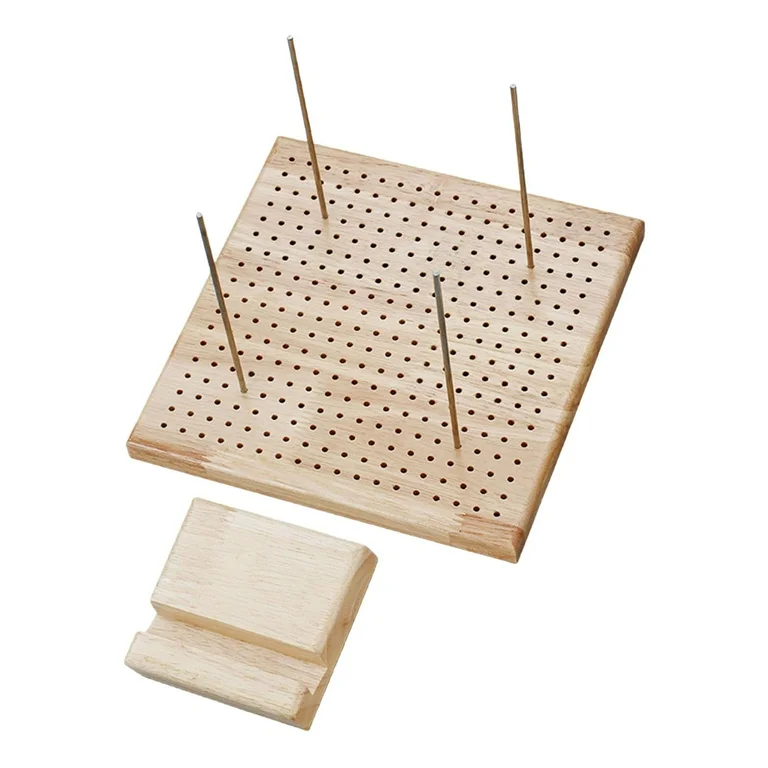
Set the Shape: Blocking is essential for shaping specific forms, such as the rounded crown of a hat or the curved body of a stuffed animal. By strategically pinning the piece into the desired shape, blocking allows you to hold it in place permanently.
When to Block Your Crochet Projects
Not all crochet projects require blocking. Generally, blocking is most beneficial for projects that:
- Are made with structured or textured stitches, such as cables, bobbles, or lace.
- Are garments or wearables, where proper fit is important.
- Have delicate or intricate stitch patterns.
- Are made with yarn that tends to curl or bunch.
However, even simple projects like scarves or dishcloths can benefit from a light blocking to even out the edges and create a more polished look. Ultimately, the decision to block is a personal one. If you’re unsure, it’s always better to err on the side of caution and block your project.
The Different Blocking Methods
There are three main methods of blocking crochet projects: wet blocking, steam blocking, and spray blocking. The best method for your project depends on the type of yarn, fiber content, and desired outcome.
-
Wet Blocking: This is the most traditional and effective method, especially for achieving precise shapes and defined stitches. It involves thoroughly soaking the crocheted piece in lukewarm water with a mild wool wash, gently squeezing out excess water, and then pinning it out to dry flat on a blocking board or other suitable surface.
-
Steam Blocking: This is a great alternative for delicate yarns or projects that cannot be submerged in water. It involves holding a steamer at a safe distance from the crocheted piece, allowing the steam to relax the fibers. You can then gently nudge the piece into shape and pin it out to dry.
-
Spray Blocking: This is a quick and easy method for lightly relaxing the fibers and setting the shape. Simply mist the crocheted piece with water from a spray bottle, then pin it out to dry flat. This method is not as effective for achieving precise shapes or defined stitches as wet blocking.
Essential Tools for Blocking
While you can get creative with household items for blocking, having a few key tools will make the process much easier and more efficient. Here’s a basic blocking supply list:
-
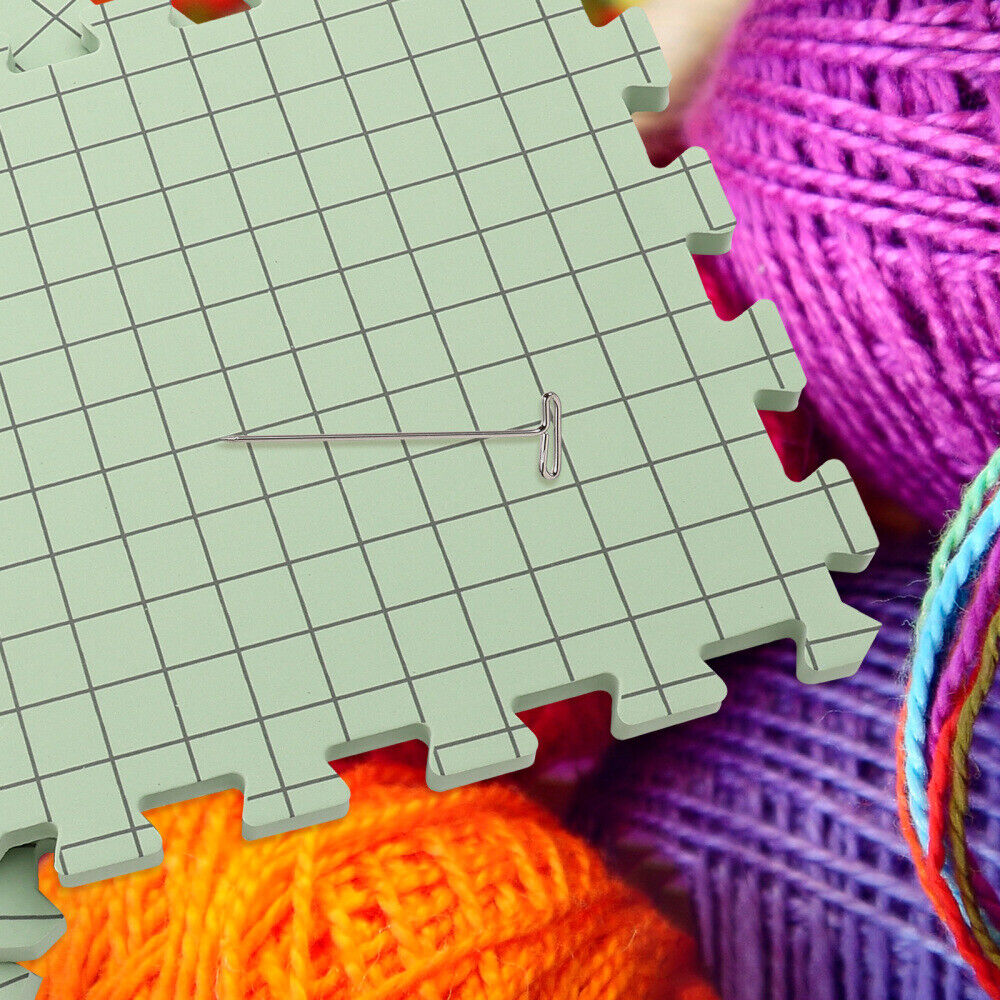
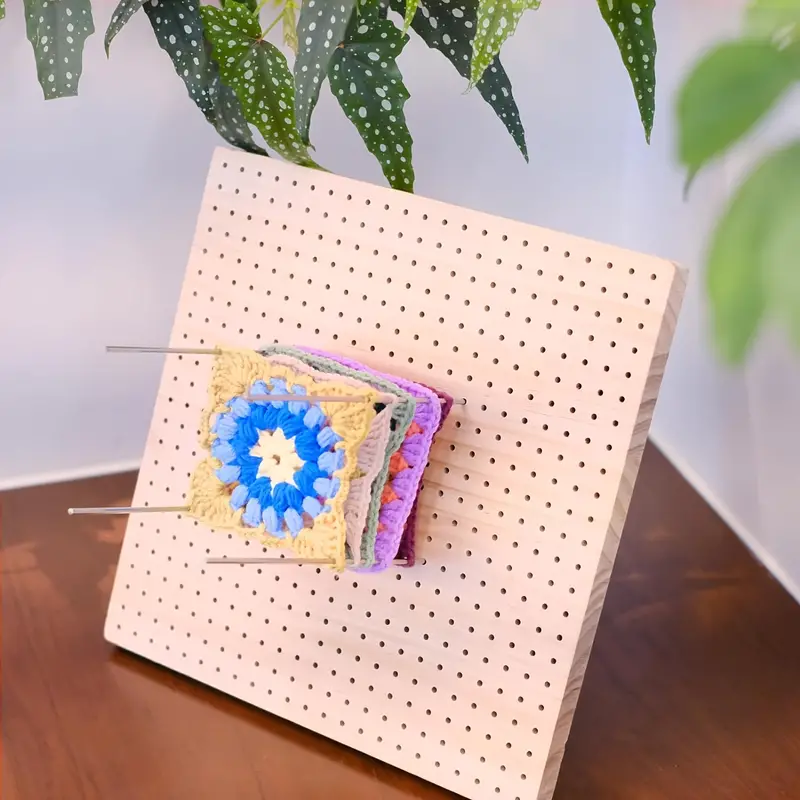
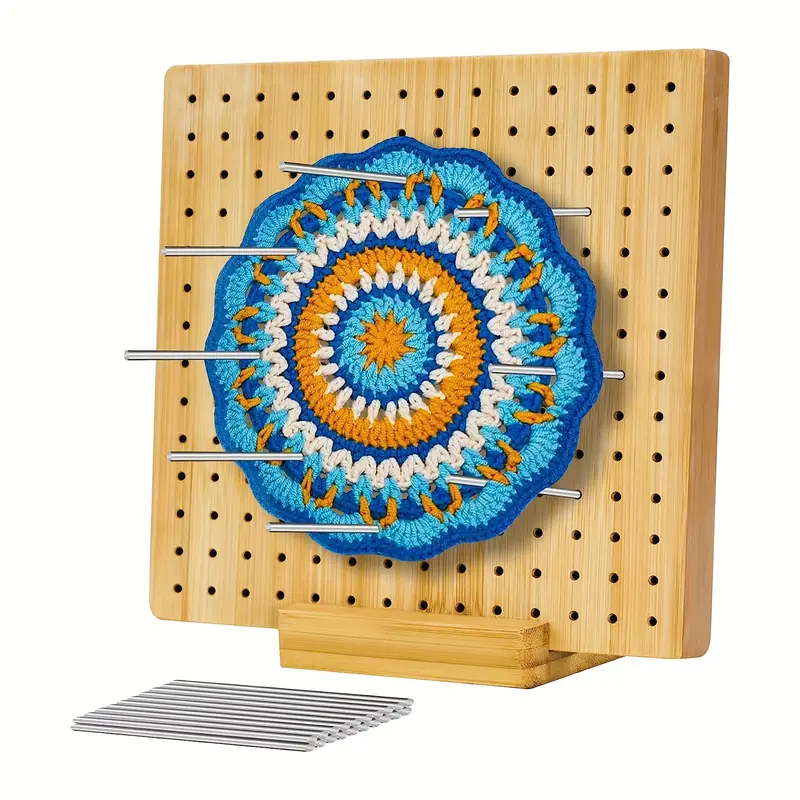
Blocking Boards: These are large, flat surfaces specifically designed for pinning out crochet projects. They come in various materials like foam or cork, and some even have grid lines for easier measuring and alignment.
-
Blocking Pins: These are T-pins or straight pins made from stainless steel or rust-proof materials. They are used to secure the crocheted piece to the blocking board and gently nudge it into shape.
-
Tape Measure: A tape measure is essential for measuring your project and ensuring it matches the specified dimensions in the pattern after blocking.
-
Spray Bottle (Optional): A spray bottle filled with water is useful for spray blocking.
-
Towels (Optional): A clean towel can be used to gently roll up the blocked project to remove excess moisture before pinning it out to dry.
Step-by-Step Guide to Blocking Your Crochet Project
-
Prepare your blocking area: Choose a clean, flat surface large enough to accommodate your entire crocheted piece when laid out flat. Cover the surface with a thin layer of fabric, such as a clean sheet or blocking mat, to prevent pins from snagging on the surface.
-
Pre-wash your project (optional): If your project is made from washable yarn and requires washing, do so before blocking according to the yarn care label instructions. Allow it to dry completely before proceeding.
-
Prepare the blocking solution: Fill a large sink or basin with lukewarm water. Add a mild wool wash specifically designed for delicates or gentle handwashing. Avoid using harsh detergents or fabric softeners, as they can damage the yarn fibers.
-
Submerge the crocheted piece: Gently submerge the entire crocheted piece in the blocking solution. Squeeze the piece gently to remove any trapped air pockets, ensuring all the yarn is thoroughly soaked.
-
Soak the project: Allow the crocheted piece to soak for 10-15 minutes, or according to the yarn care label instructions. For thicker yarns or projects, you may need a longer soaking time.
-
Gently rinse and express excess water: Carefully remove the crocheted piece from the soaking solution. Rinse it gently with clean lukewarm water to remove any soap residue. Squeeze out excess water gently by pressing the piece between your palms. Avoid wringing or twisting the project, as this can distort the shape.
-
Prepare your blocking board: Lay your blocking board on a flat surface. If using a foam or cork blocking board, you can dampen it slightly with water to help the pins glide in easily.
-
Pin the project into shape: Here comes the fun part of shaping your project! Lay the damp crocheted piece flat on the blocking board, aligning the edges with the grid lines if your board has them. Gently stretch the piece to the desired dimensions as specified in the pattern. Use blocking pins to secure the piece in place, starting from the center and working your way outwards
Tips for Pinning:
- Use enough pins to evenly distribute the tension across the project.
- Space the pins 1-2 inches apart for even blocking.
- Be gentle but firm when pinning to avoid snagging or damaging the yarn.
- Dry the project flat: Once the crocheted piece is pinned into shape, leave it to dry flat on the blocking board in a well-ventilated area with good air circulation. Avoid direct sunlight or heat sources, as this can damage the yarn.
- Depending on the thickness of the yarn and the size of the project, drying time can take anywhere from several hours to a day or even longer.
-
Check for dryness: Gently nudge a corner of the project to see if it feels dry to the touch. If it still feels damp, leave it to dry for a longer period.
-
Unpin and enjoy! Once the crocheted piece is completely dry, carefully remove the pins. Marvel at your beautifully shaped and finished project!
Additional Tips for Successful Blocking
-
Block delicate projects: When blocking delicate projects or those made with mohair or angora yarns, it’s recommended to place a layer of mesh or netting between the project and the blocking board to prevent snagging.
-
Block wool projects: For wool projects, it’s helpful to roll the blocked piece gently in a clean towel to remove excess moisture before pinning it out to dry. This helps prevent the wool from felting.
-
Block acrylic projects: When blocking acrylic projects, avoid using hot water, as this can cause the yarn to stretch permanently.
-
Maintain blocking board: After use, allow your blocking boards to air dry completely before storing them. This helps prevent mildew or mold growth.
With a little practice, blocking your crochet projects will become a breeze! The difference in the final look and feel of your work will be remarkable, elevating your crochet creations from simply complete to professional and polished masterpieces. So next time you finish a crochet project, grab your blocking tools and witness the magic of blocking transform your work!