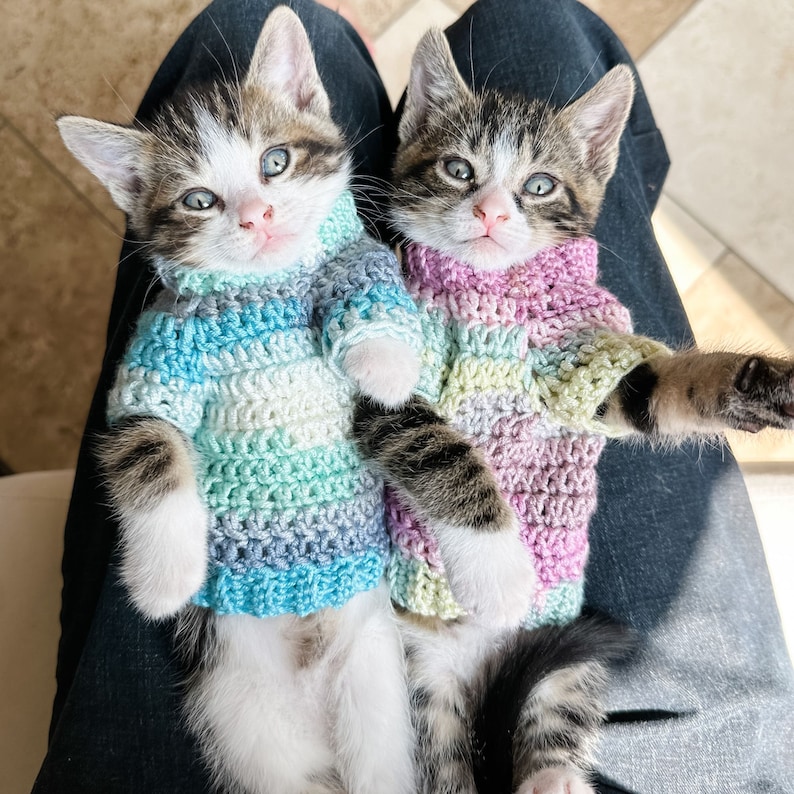
For feline friends who feel the chill, a crocheted sweater is a purrfect solution. Not only will it keep your cat warm and snug, but it’s also a delightful way to showcase your creativity and love for your pet. This guide will walk you through the delightful process of crocheting a custom cat sweater, from choosing the right materials to adding those finishing touches.
Gather Your Supplies
Crocheting a cat sweater is a relatively simple project, but it’s important to have the right tools and materials on hand before you begin.
-
Yarn: Select a soft, lightweight yarn specifically designed for small pets. Avoid scratchy or bulky varieties that might irritate your cat’s skin. Look for yarns labeled “cat-friendly” or “pet safe.”
-
Crochet Hook: The size of your crochet hook will depend on the weight of the yarn you choose. A standard rule of thumb is to choose a hook size that is one size larger than recommended for your yarn. This will create a looser, more comfortable fabric for your cat.
-
Measuring Tape: You’ll need this to accurately measure your cat to ensure a proper fit.
-
Scissors: These will come in handy for cutting yarn and making adjustments as needed.
-
Tapestry Needle: A tapestry needle will help you weave in loose yarn ends for a polished finish.
-
“”Optional: Stitch Markers “”: These can be helpful for keeping track of your pattern, especially for beginners.
Sizing Up Your Kitty
Taking accurate measurements is crucial for creating a sweater that fits your cat comfortably. Here’s what you’ll need to measure:
-
Neck Circumference: Measure around the base of your cat’s neck, where their collar would typically sit.
-
Chest Girth: Measure around the broadest part of your cat’s chest.
-
Body Length: Measure from the base of your cat’s neck to the base of their tail.
-
Leg Length (Optional): If you’d like a sweater with sleeves, measure from your cat’s shoulder to their front paw.
Here’s a tip: When measuring your cat, try to get them to stand as still as possible. Enticing them with a treat can help keep them occupied while you take their measurements.
Choosing a Pattern
With your cat’s measurements in hand, you can now choose a crochet pattern. There are countless cat sweater patterns available online and in craft books, catering to various skill levels and sweater styles.
-
For beginners: Look for patterns that use basic crochet stitches, such as single crochet, double crochet, and slip stitches. Patterns that work in the round are also a good option for beginners, as they eliminate the need for seaming.
-
For adventurous crocheters: More intricate patterns might involve shaping the body and sleeves, adding decorative elements like stripes or collars, or incorporating adorable details like cat ears or a tail.
Here are some additional factors to consider when choosing a pattern:
-
The age and breed of your cat: Kittens and small breeds will obviously require a smaller sweater than larger cats.
-
The desired level of warmth: Think about how cold your climate typically gets and choose a yarn weight and pattern construction that will provide the appropriate level of warmth for your cat.
-
Your own skill level: Be honest with yourself about your crocheting abilities and choose a pattern that matches your comfort zone. There’s no shame in starting with a simple design and working your way up to more complex projects.
Let’s Get Crocheting!
Once you’ve assembled your materials, chosen a pattern, and measured your cat, you’re ready to start crocheting! Here’s a general overview of the process, keeping in mind that specific instructions will vary depending on your chosen pattern.
-
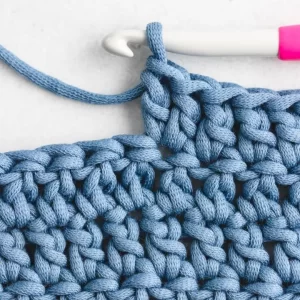
Start with the Body: Most patterns will begin with crocheting the body of the sweater in the round, from the bottom up. This will involve working rows of single crochet or double crochet stitches in a spiral fashion.
-
Create the Neck Opening: Once you’ve reached the desired body length, you’ll typically crochet a few rows of single crochet stitches to create a designated neck opening.
-
Divide for the Sleeves (Optional): If your pattern includes sleeves, you’ll divide the stitches at the armholes and crochet each sleeve separately.
-
Shape the Sleeves (Optional): Depending on the pattern, you might need to decrease stitches at the end of each row to shape the sleeves and create a tapered cuff.
-
Finish the Trimmings: Once the main body and sleeves (if applicable) are complete, you’ll likely crochet additional rows of single crochet stitches around the bottom hem, neck opening, and sleeve cuffs for a clean finish.
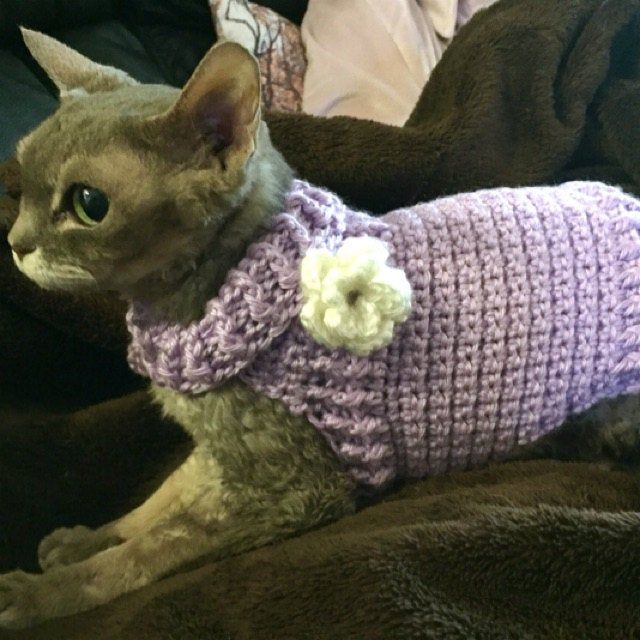
Adding Persönlichkeit (Personality): This is where you can unleash your creativity! Here are some ideas for personalizing your cat sweater:
-
Embellishments: Sew on cute buttons, pom-poms, or felt appliques like hearts, stars, or even tiny cat faces.
-
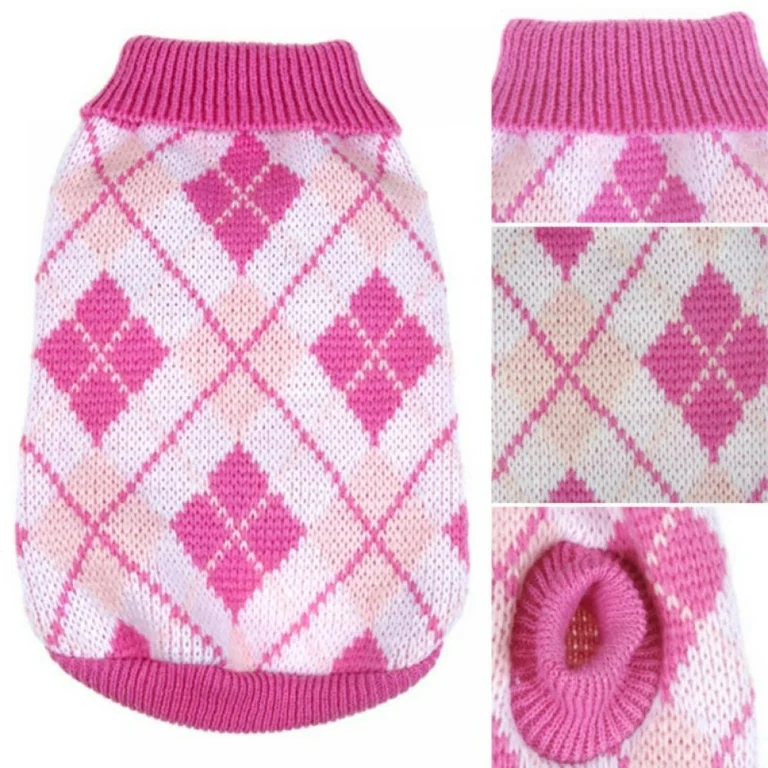
Contrasting Colors: Use different yarn colors for the body, sleeves, and trim for a playful look.
-
Stripes or Colorwork: For more experienced crocheters, incorporate stripes or colorwork patterns into the design.
Putting on the Finishing Touches
Once you’re happy with your crocheted masterpiece, it’s time to add the finishing touches:
-
Weave in Ends: Use your tapestry needle to weave in any loose yarn ends on the inside of the sweater. This will prevent them from unraveling and creating a messy look.
-
Give it a Wash (Optional): While not essential, you can gently hand-wash the finished sweater in lukewarm water with a mild detergent suitable for delicates. Lay the sweater flat to dry on a clean towel.
Washing and maintaining the crocheted cat sweater
While not absolutely necessary, maintaining your cat’s crocheted sweater with proper washing will ensure it stays clean, comfortable, and lasts longer. Here’s how:
-
Spot Cleaning: For minor dirt or stains, use a damp cloth with a gentle pet-safe detergent to dab at the affected area. Avoid scrubbing or using harsh chemicals, as these can damage the yarn.
-
Handwashing (Recommended): For a more thorough clean, consider hand-washing the sweater. Fill a sink or basin with lukewarm water and a small amount of mild detergent suitable for delicates. Gently swish the sweater around for a few minutes, then rinse thoroughly with clean water.
-
Avoid Harsh Treatment: Never put the cat sweater in the washing machine or dryer. The agitation and heat can cause the yarn to shrink, felt, or lose its shape.
-
Air Drying is Best: Lay the sweater flat on a clean towel and reshape it gently if needed. Allow it to air dry completely in a well-ventilated area before storing it.
-
Brushing: Between washes, you can use a soft brush to remove any loose fur or debris from the sweater.
By following these simple tips, you can keep your cat’s crocheted sweater looking and feeling its best for many cozy seasons to come.
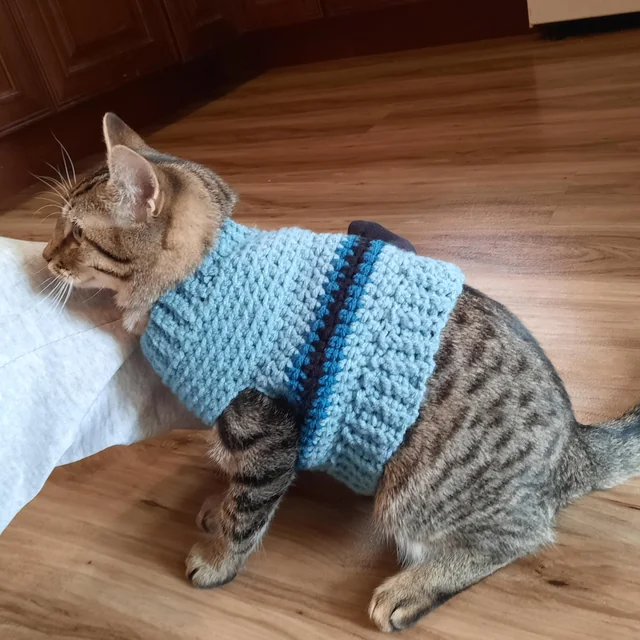
The Big Reveal: Dress Up Your Cat!
Now comes the most exciting part: presenting your cat with their brand new, custom-made sweater! Here are some tips for a smooth introduction:
-
Let them Sniff It First: Allow your cat to get familiar with the sweater by letting them sniff it before attempting to put it on.
-
Positive Reinforcement: Offer treats and praise throughout the process to create a positive association with the sweater.
-
Patience is Key: Some cats might be initially hesitant or resistant to wearing the sweater. Be patient, take breaks if needed, and reward them for their cooperation.
Safety First: Never leave your cat unattended while wearing their sweater, especially if it has any buttons or other embellishments that could pose a choking hazard. Observe your cat’s behavior to ensure the sweater isn’t causing them any discomfort or restricting their movement.
With a little time, patience, and creativity, you can crochet a delightful and functional cat sweater that will keep your feline friend warm and stylish. Happy crocheting!