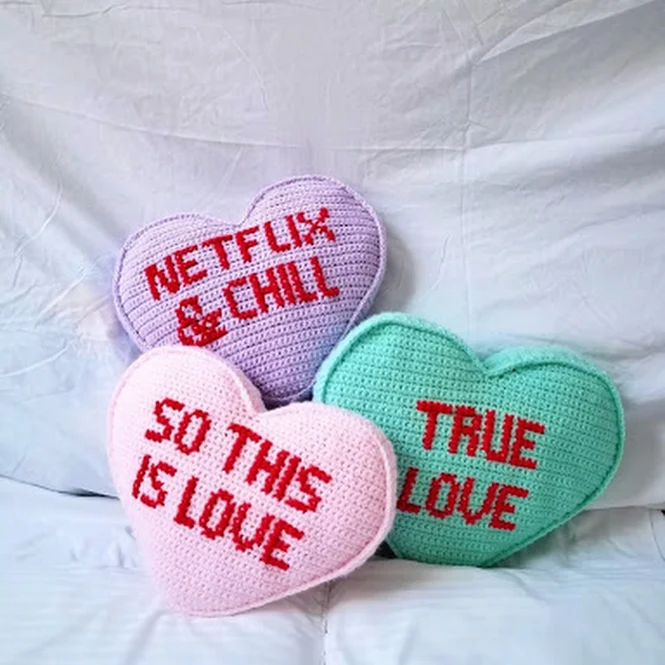
Embroidery adds a personal touch to crochet projects. Whether you want to personalize a baby blanket, create a unique tote bag, or simply experiment with a new technique, embroidering letters onto your crochet work is a rewarding endeavor. This guide will walk you through the essential steps, from choosing the right materials to perfecting your stitches.
Gathering Your Supplies
Before you dive into the world of letter embroidery, make sure you have the necessary tools.
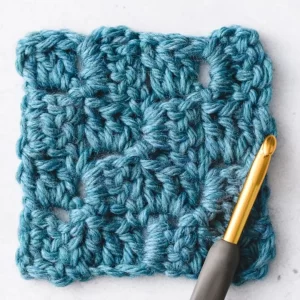
- Crochet project: Choose a finished crochet piece with a fabric that’s suitable for embroidery. A tight-stitch crochet fabric typically works best.
- Embroidery needle: An embroidery needle has a sharp, pointed tip that easily pierces fabric.
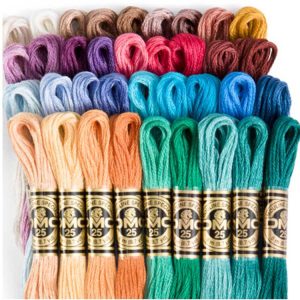
- Embroidery floss: This thread comes in a variety of colors and is ideal for creating detailed stitches.
- Fabric marker or pencil: Use this to lightly sketch the letters onto your crochet piece.
- Scissors: For cutting the embroidery floss.
- Hoop (optional): A hoop can help to keep your fabric taut while you work.
Choosing the Right Stitch
Several embroidery stitches can be used for lettering. The most common ones include:
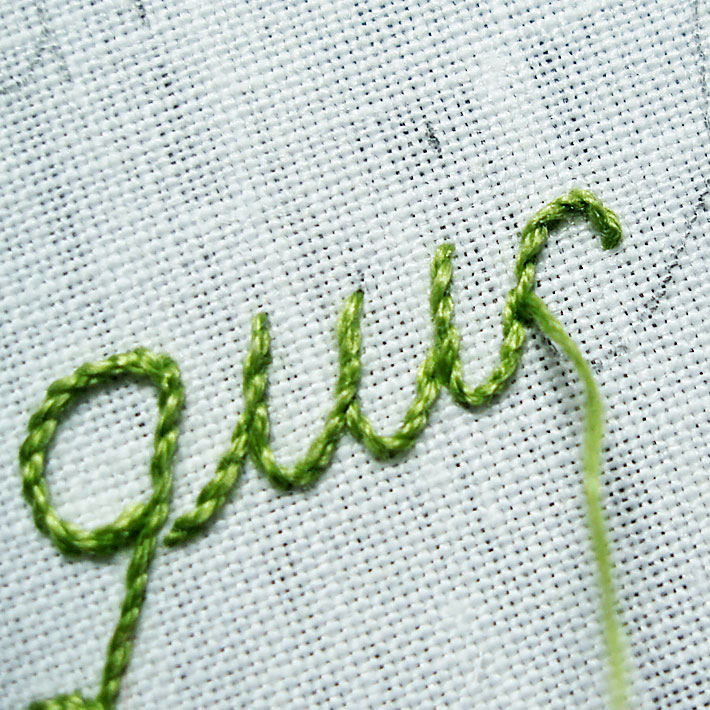
- Backstitch: This stitch creates a clean, defined line and is perfect for straight letters.
- Satin stitch: This stitch fills in the letter with a solid color, creating a bold look.
- Chain stitch: This stitch produces a raised, decorative effect.
- Split stitch: Similar to backstitch, but with a slightly different angle, creating a more textured look.
Consider the style of your crochet project and the desired look of your letters when selecting a stitch.
Planning Your Design
Before you start stitching, plan out your letter placement. Consider the size of the letters in relation to the crochet piece. Use a fabric marker or pencil to lightly sketch the letters onto your fabric. If you’re unsure about the design, practice on a scrap piece of crochet.
Transferring Your Design
Once you’re satisfied with your design, it’s time to transfer it to your crochet project. Use a fabric marker or pencil to lightly sketch the letters onto your fabric. Be gentle to avoid damaging the crochet stitches.
Embroidering the Letters
Now comes the fun part! Follow these general steps:
- Thread your needle: Cut a length of embroidery floss and thread it through the needle. Tie a knot at one end.
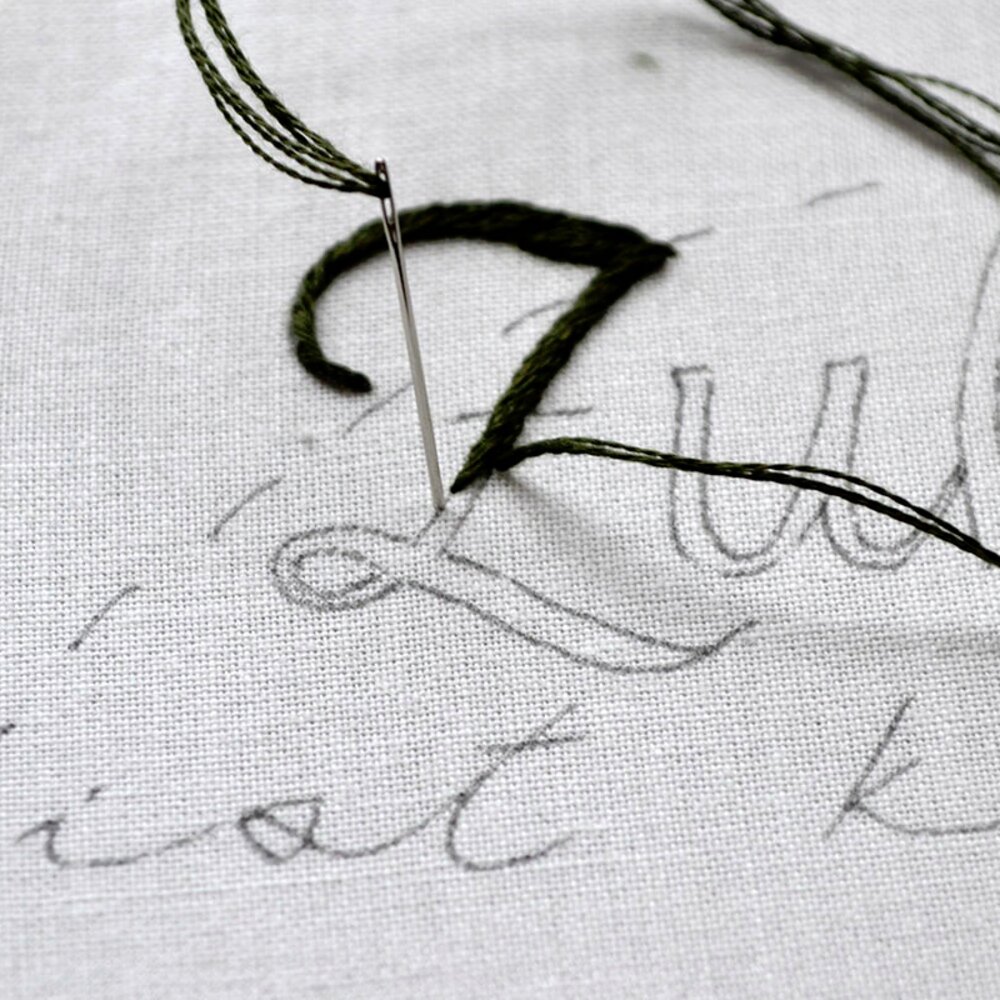
- Start stitching: Begin at the starting point of your letter. Follow the outline of the letter, using your chosen stitch.
- Maintain tension: Keep the tension of your thread consistent to create even stitches.
- Secure the thread: Once you’ve finished the letter, secure the thread by weaving it under several stitches on the back of the crochet. Tie a knot and trim any excess thread.
Tips for Perfect Letters
- Practice makes perfect: Don’t be discouraged if your first attempts aren’t flawless. Practice on a scrap piece of crochet to refine your technique.
- Use a hoop: A hoop can help to keep your fabric taut, making it easier to stitch.
- Experiment with different stitches: Try different embroidery stitches to find the ones you like best.
- Consider the fabric: The thickness of your crochet fabric will affect the appearance of your stitches. Adjust your thread and needle size accordingly.
- Take your time: Embroidery is a relaxing and enjoyable craft. Don’t rush the process.
Washing and drying guidelines
Always check the yarn label first. It will provide specific care instructions. However, here are some general guidelines:
Washing
-
Hand wash: This is the safest method for most crochet items.
- Use lukewarm water and a gentle detergent.
- Avoid harsh soaps or detergents.
- Gently squeeze out excess water, do not wring.
-
Machine wash: Only if the yarn label specifically allows it.
- Use a gentle cycle and cold water.
- Use a delicate laundry bag to protect your item.
Drying
-
Air dry: This is the preferred method for most crochet items.
- Lay your item flat on a clean, dry towel.
- Reshape it to its original size while it dries.
- Avoid hanging to prevent stretching.
-
Tumble dry: Only if the yarn label specifically allows it.
- Use a low heat setting and a delicate cycle.
- Add a few tennis balls to help maintain the shape.
Long-term care to ensure durability
Proper care of your crochet projects can significantly extend their lifespan. Here are some essential tips:
Handling and Storage
- Gentle handling: Avoid pulling or tugging on your crochet items.
- Proper storage: Store items in a cool, dry place away from direct sunlight.
- Avid moth damage: Use cedar blocks or mothballs in storage areas.
Washing and Care
- Check care label: Always follow the care instructions on your yarn label.
- Hand wash: Most crochet items are best hand-washed in lukewarm water with a gentle detergent.
- Avoid wringing: Gently squeeze out excess water.
- Dry flat: Lay your item flat on a dry towel to air dry. Avoid hanging to prevent stretching.
- Blocking: For specific items like blankets or shawls, blocking can help restore shape and size.
Repair and Maintenance
- Inspect regularly: Check for loose stitches or signs of wear.
- Repair promptly: Address any issues as soon as possible to prevent further damage.
- Reinforce stress points: For items like bags or toys, reinforce areas prone to wear and tear.
Additional Tips
- Avoid harsh chemicals: Do not use bleach or fabric softeners.
- Ironing: Only iron if necessary and use a low heat setting with a pressing cloth.
- Professional cleaning: For delicate or heavily soiled items, consider professional cleaning.
Remember: The type of yarn used will also affect the care required. For example, wool items may require special handling.
Repair tips for loose or damaged stitches
Embroidery can add a personal touch to your crochet projects. Here’s a simple guide to get you started:
Materials:
- Embroidery needle
- Embroidery floss or yarn
- Crochet project
- Scissors
Steps:
- Choose your stitch:
- Backstitch: A classic choice for clear, defined lines.
- Chain stitch: Creates a bold, decorative effect.
- Satin stitch: Fills in areas for a solid color look.
- Transfer your design:
- Use a water-soluble pen or fabric marker to lightly sketch your letters onto your crochet piece.
- If you’re confident, you can freehand the letters directly with the embroidery floss.
- Thread your needle:
- Cut a length of embroidery floss or yarn.
- Thread the needle and tie a small knot at one end.
- Start embroidering:
- Follow the chosen stitch pattern to create your letters.
- Work slowly and carefully to ensure accuracy.
- Finishing:
- Secure the thread by weaving it under several stitches on the back of your crochet.
- Trim any excess thread.
Tips:
- Practice on a scrap piece of crochet before starting your project.
- Use a hoop or frame to keep your fabric taut while embroidering.
- Vary the thickness of the floss or yarn to create different effects.
- Consider using a stabilizer under your crochet for added support, especially for delicate fabrics.
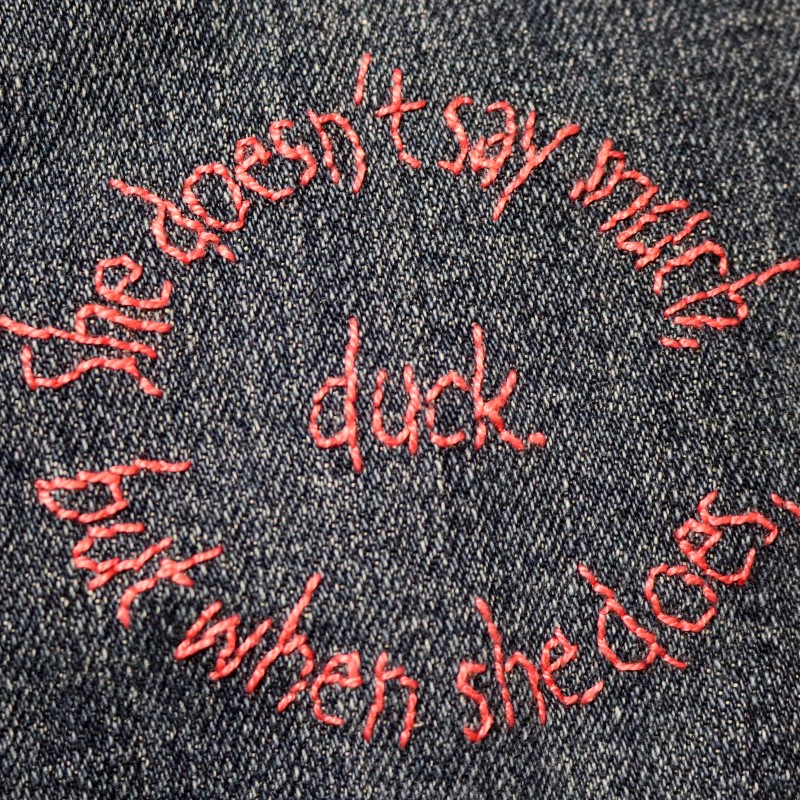
Visual Guide:
Repairing Loose or Damaged Stitches
While not directly related to embroidery, here are some quick tips for repairing your crochet:
- Loose stitches:
- Gently pull the loose stitch to tighten it.
- If the stitch is completely undone, carefully re-crochet it.
- Damaged stitches:
- If a stitch is caught or snagged, try to gently free it without damaging the yarn.
- If the stitch is beyond repair, you can weave in a new piece of yarn to replace the damaged area.
Adding Finishing Touches
Once you’ve finished embroidering your letters, you may want to add some finishing touches. Consider adding beads, sequins, or other embellishments to enhance the design.
Embroidering letters on crochet is a versatile technique that allows you to personalize your projects. With practice and patience, you’ll be creating beautiful and unique pieces in no time. So gather your supplies, choose your design, and let your creativity shine!