
Are you tired of the worn-out look of your steering wheel? Or perhaps you simply want to add a touch of personal style to your car’s interior. A crochet steering wheel cover is the perfect solution. Not only does it protect your steering wheel from wear and tear, but it also offers a comfortable grip and a unique, handmade aesthetic. In this guide, we’ll walk you through the process of crocheting your own steering wheel cover, from choosing the right yarn to finishing the final touches.
Choosing Your Yarn and Hook
The first step in creating your crochet steering wheel cover is selecting the appropriate yarn and hook. The yarn should be durable, soft, and comfortable to the touch. Acrylic, cotton, and wool blends are popular choices for their versatility and ease of care. Consider the climate where you live when selecting your yarn. For colder climates, a wool blend can provide extra warmth, while cotton or acrylic is ideal for warmer temperatures.
The hook size you’ll need depends on the thickness of your yarn. A general rule of thumb is to choose a hook that is one size larger than recommended on the yarn label. This will create a looser, more flexible fabric that’s better suited for a steering wheel cover.
Measuring Your Steering Wheel
Before you start crocheting, it’s essential to measure your steering wheel accurately. Use a soft measuring tape to determine the circumference and diameter of your wheel. This information will help you calculate the number of stitches needed for your project.
Creating the Crochet Panels
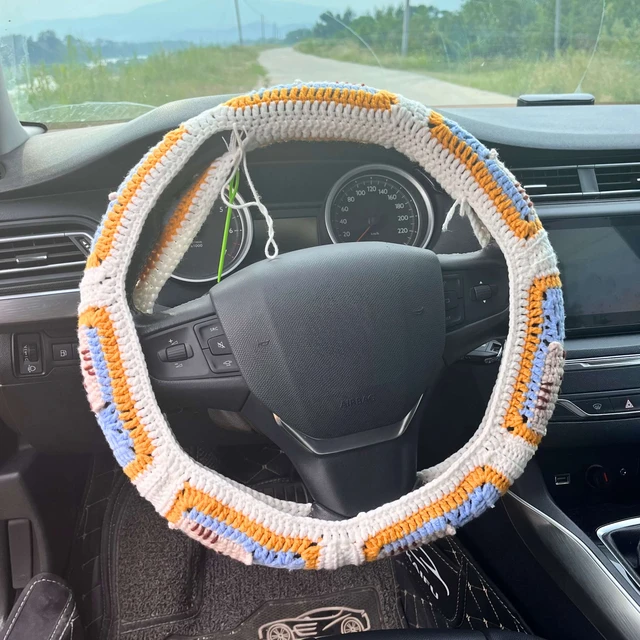
Most steering wheel covers are made from multiple panels that are then joined together. To begin, chain a foundation chain that matches the width of your desired panel. The exact number of chains will vary depending on the thickness of your yarn and the size of your steering wheel.
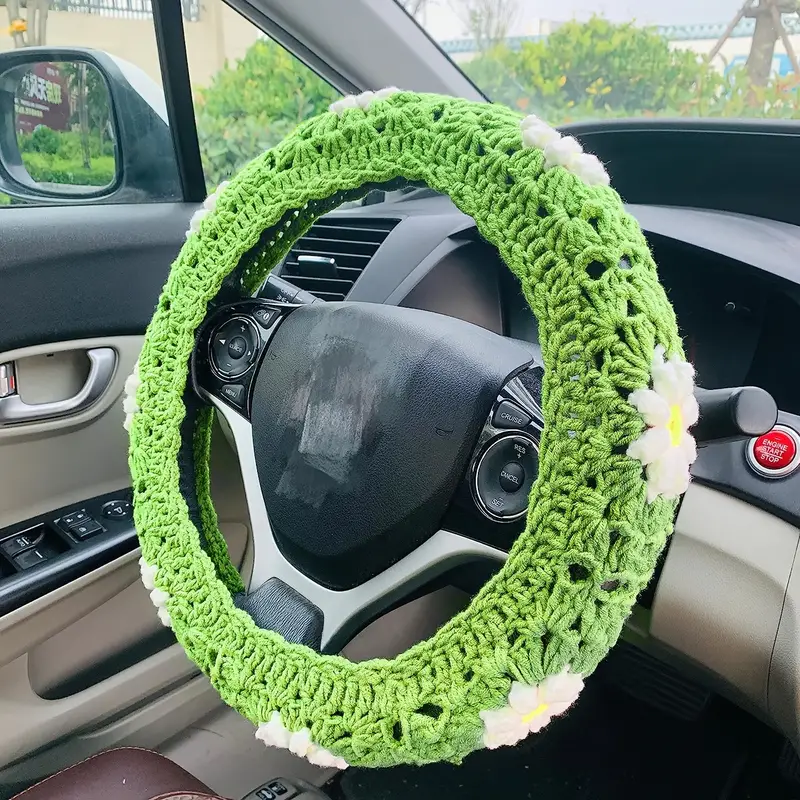
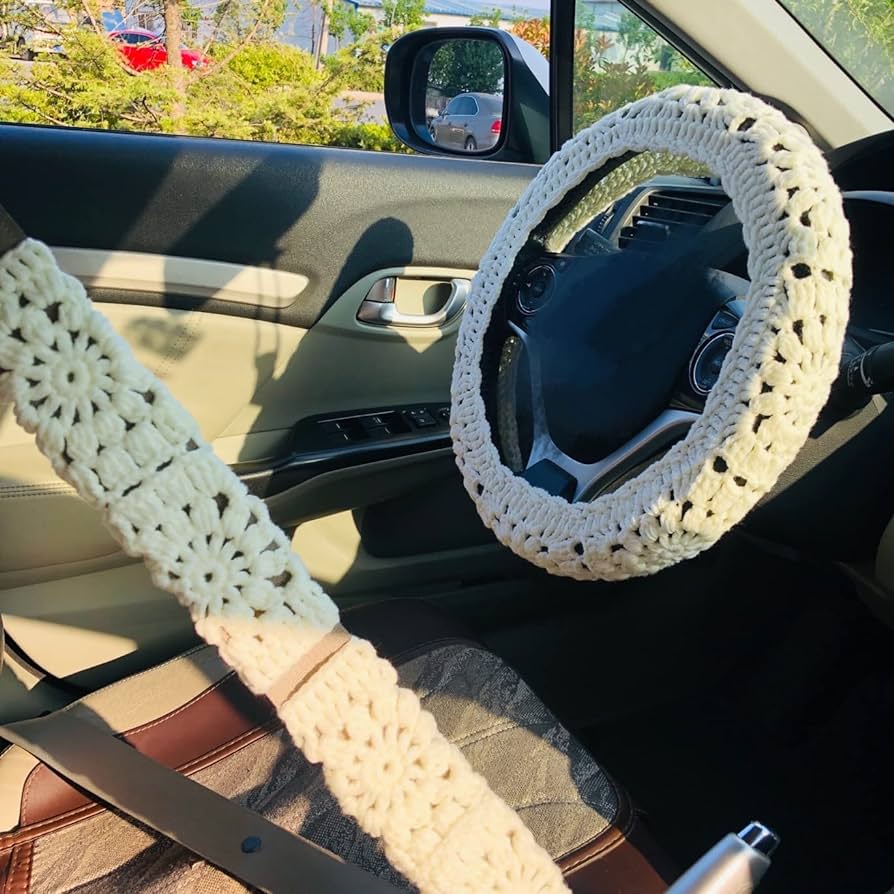
Once you have your foundation chain, start crocheting rows of your chosen stitch pattern. Popular options include single crochet, half double crochet, and double crochet. Choose a stitch that you’re comfortable with and that creates a fabric with enough stretch for your steering wheel.
Continue crocheting rows until your panel is long enough to cover the circumference of your steering wheel. Remember to leave some extra length at the top and bottom of the panel for seam allowances.
Joining the Panels
Once you’ve crocheted the required number of panels, it’s time to join them together. There are several methods for joining crochet pieces, but the most common is the slip stitch seam. To create this seam, overlap the edges of two panels right sides together and slip stitch along the joined edges.
Continue joining the panels until you have a complete circle. Make sure to distribute the seams evenly around the steering wheel for a neat finish.
Adding Elastic
To ensure a secure fit, you’ll need to add elastic to your steering wheel cover. Cut a piece of elastic that is slightly shorter than the circumference of your steering wheel. Sew or crochet the elastic into the seam allowances at the top and bottom of your cover. Make sure the elastic is evenly distributed.
Finishing Touches
To complete your crochet steering wheel cover, weave in any loose ends and block your work. Blocking helps to shape the cover and ensure it lies flat. Once your cover is dry, it’s ready to use!
Tips for Crochet Steering Wheel Covers
- Choose a yarn that is easy to care for. You’ll likely be washing your steering wheel cover regularly, so opt for a yarn that can withstand frequent laundering.
- Test your stitch gauge before starting the project. This will help you ensure that your cover fits your steering wheel properly.
- Consider adding a non-slip backing to your cover. This can help prevent the cover from sliding around on the steering wheel.
- Experiment with different stitch patterns and colors. There are endless possibilities for customizing your crochet steering wheel cover.
Blocking: How and why to block your crochet to set the shape
Blocking is a crucial step in creating a professional-looking and well-fitting crochet steering wheel cover. It involves shaping and setting your crochet work to its desired dimensions, and it’s essential for achieving a smooth, even, and defined finish.
Why Block Your Crochet Steering Wheel Cover?
- Shape: Blocking helps your cover lie flat and evenly, preventing unwanted puckering or warping.
- Size: It ensures that your cover fits your steering wheel perfectly, preventing it from being too loose or too tight.
- Stitch Definition: Blocking enhances the appearance of your stitches, making them more defined and visually appealing.
- Even Tension: It helps to correct any inconsistencies in your tension, resulting in a more polished look.
How to Block Your Crochet Steering Wheel Cover
Materials:
- Large, flat surface (like a clean floor or a drying rack)
- Blocking wires or T-pins
- Spray bottle filled with lukewarm water
- Towels
Troubleshooting Common Issues
Even the most experienced crocheters can encounter challenges. Here are some common issues you might face when making a steering wheel cover and how to resolve them.
Size and Fit Problems
- Cover is too small: If your cover is too tight, it might be uncomfortable to grip and could even slip off. Recheck your measurements. You might need to add extra chains to your foundation row or crochet additional rows.
- Cover is too large: A loose cover can be annoying and might interfere with steering. Double-check your measurements and consider decreasing the number of stitches in your foundation row.
- Cover doesn’t lay flat: If your cover is puckering or bunching, it might be due to uneven tension. Try blocking your finished piece to help it lay flat.
Shape and Seam Issues
- Seams are visible: To reduce seam visibility, use a slip stitch to join your panels. Ensure the right sides of the fabric are together when stitching.
- Cover doesn’t form a perfect circle: If your cover is slightly oval, adjust the placement of your seams or consider adding more panels for a better fit.
- Elastic is too tight or loose: Adjust the length of your elastic based on the fit. It should provide a snug but comfortable hold.
Yarn and Crochet Issues
- Yarn is slipping: If your stitches are loose, try using a smaller hook or switching to a yarn with more grip.
- Cover is too thick: A bulky cover might be uncomfortable to grip. Opt for a thinner yarn or a more open stitch pattern.
- Cover is stretching out: For added durability, consider using a yarn with a higher wool content or reinforcing the cover with additional rows of stitching.
General Tips
- Practice makes perfect: Crochet a small swatch to experiment with different stitches and tension before starting your project.
- Take breaks: If you’re feeling frustrated, step away from your project and come back later with fresh eyes.
- Don’t be afraid to unpick: If you make a mistake, it’s easier to fix it sooner rather than later.
By understanding and addressing these common issues, you can create a crochet steering wheel cover that is both functional and stylish. Remember, every project is a learning experience, and with patience and perseverance, you’ll achieve the perfect result.
Crocheting a steering wheel cover is a fun and rewarding project that allows you to add a personal touch to your car. With a little patience and practice, you can create a beautiful and functional accessory that will enhance your driving experience. So gather your yarn and hook, and let your creativity run wild!

