
Cross stitching is a beautiful and versatile craft that can be used to add a personal touch to anything from clothing to home decor. One of the most popular ways to use cross stitch is to embellish clothing. Whether you’re looking to add a simple design to a plain t-shirt or create a more intricate piece for a special occasion, cross stitching on clothes is a fun and rewarding project.
Choosing the Right Fabric
The first step in cross stitching on clothes is to choose the right fabric. The best fabrics for cross stitching are those that are tightly woven and have a smooth surface. This will make it easier to see your stitches and prevent the fabric from fraying. Some good options include cotton, linen, and denim.
Preparing Your Fabric
Before you can start cross stitching, you’ll need to prepare your fabric. This involves washing and drying it to remove any sizing or finishes. You may also want to pre-shrink the fabric to prevent it from shrinking after you’ve completed your cross stitch project.
Transferring Your Design
Once your fabric is prepared, you’ll need to transfer your design onto it. There are a few different ways to do this, including using a fabric marker, a transfer paper, or a light box. If you’re new to cross stitching, it may be easiest to use a transfer paper.
Choosing Your Thread
The type of thread you use will depend on the fabric you’re cross stitching on and the design you’re creating. For most projects, you’ll want to use a stranded cotton embroidery floss. This type of thread is strong, durable, and comes in a wide variety of colors.
Starting Your Cross Stitch
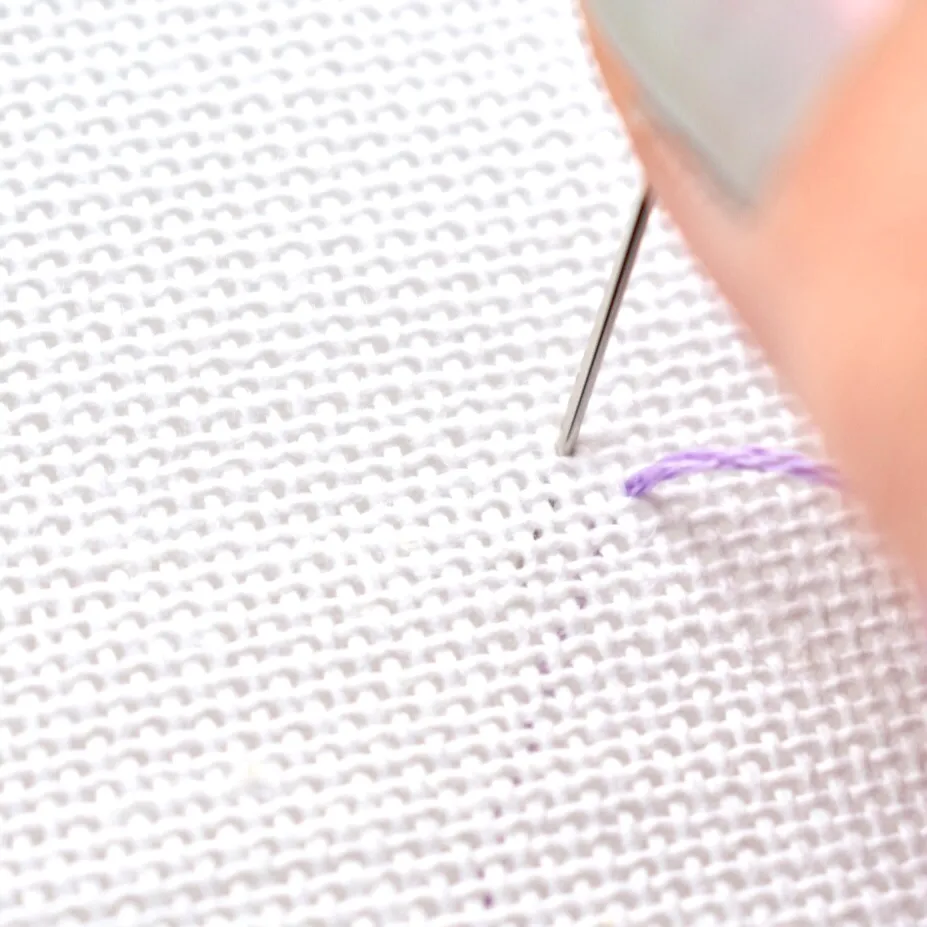
Once you’ve transferred your design and chosen your thread, you’re ready to start cross stitching. The basic cross stitch stitch is very simple. To create a cross stitch, you’ll need to make two diagonal stitches. First, make a diagonal stitch from the bottom left corner to the top right corner. Then, make a second diagonal stitch from the bottom right corner to the top left corner.
Finishing Your Cross Stitch
Once you’ve completed your cross stitch design, you’ll need to finish it. This involves securing the ends of your thread and washing your fabric. To secure the ends of your thread, you can tie them in a knot or weave them through the back of your work.
Tips for maintaining tension
Maintaining consistent tension is crucial for creating a beautiful and even cross stitch project. Here are some tips to help you achieve and maintain proper tension:
Use a Hoop or Frame:
- Provides stability: A hoop or frame holds your fabric taut, making it easier to control tension and prevent puckering.
- Choose the right size: Ensure the hoop or frame is slightly larger than your project to allow for movement.
Start with a Tight Tension:
- Foundation for even stitches: Begin stitching with slightly tighter tension than you think is necessary. This will help prevent loose stitches later on.
- Adjust as needed: As you progress, you can adjust the tension slightly to achieve the desired look.
Avoid Overtightening:
- Causes puckering: Overtightening can distort your fabric and make it difficult to create even stitches.
- Monitor tension: Regularly check your stitches to ensure they are not too tight.
Use a Consistent Grip:
- Maintain control: Hold your needle between your thumb and index finger with a firm but gentle grip.
- Avoid excessive pressure: Excessive pressure can lead to uneven tension and fatigue.
Pay Attention to Stitch Length:
- Consistent stitches: Aim for stitches of similar length to maintain even tension throughout your project.
- Avoid skipping stitches: Skipping stitches can disrupt the tension and create gaps in your work.
Take Breaks:
- Prevent fatigue: Long periods of stitching can lead to fatigue and affect your ability to maintain tension.
- Rest your hands: Take short breaks to rest your hands and eyes.
Check Tension Regularly:
- Monitor throughout the project: Periodically examine your stitches to ensure they are maintaining consistent tension.
- Adjust as needed: If you notice any inconsistencies, make small adjustments to your tension.
Practice and Patience:
- Develop muscle memory: With practice, you’ll develop the muscle memory needed to maintain consistent tension.
- Be patient: It may take time to master tension control. Don’t get discouraged if it takes some practice.
By following these tips, you can effectively maintain tension in your cross stitch projects and create beautiful, even work. Remember, practice makes perfect, so don’t be afraid to experiment and find what works best for you.
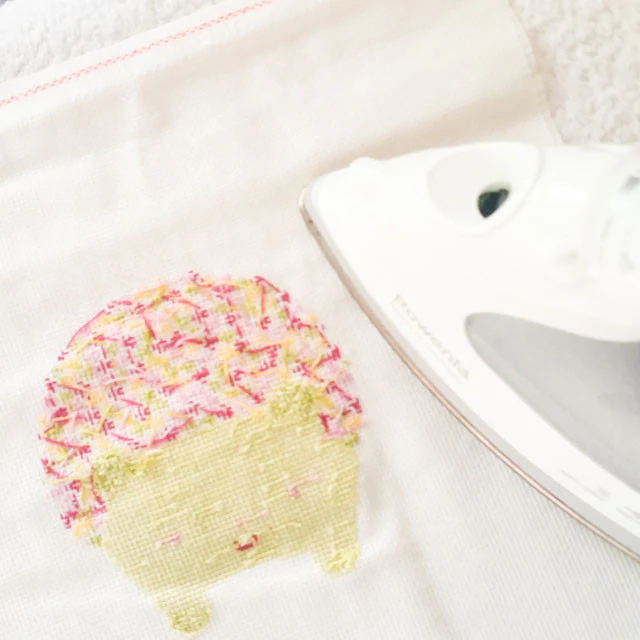
Washing Your Cross Stitch
After you’ve finished your cross stitch project, you should wash it to remove any dirt or grime. Hand wash your cross stitch in cold water with a mild detergent. Rinse it thoroughly and allow it to air dry.

Removing any visible pen lines
If you’ve accidentally marked your fabric with pen lines that are still visible after completing your cross stitch project, here are a few methods you can try to remove them:
Fabric Eraser:
- Specific for fabric: This type of eraser is designed to gently remove pen marks without damaging the fabric.
- Gently rub: Rub the eraser over the pen marks in a circular motion. Be careful not to apply too much pressure.
White Vinegar:
- Dilute solution: Mix equal parts white vinegar and water.
- Apply with a cotton ball: Dip a cotton ball into the solution and dab it onto the pen marks.
- Let it sit: Allow the vinegar to sit for a few minutes before gently blotting it away with a clean, dry cloth.
Hydrogen Peroxide:
- Test in an inconspicuous area: Before applying hydrogen peroxide to the entire project, test it in a small, hidden area to ensure it doesn’t affect the color of your fabric or thread.
- Dab with a cotton swab: Use a cotton swab dipped in hydrogen peroxide to gently dab at the pen marks.
- Rinse thoroughly: Rinse the area with cold water to remove any residue.
Commercial Fabric Stain Remover:
- Follow instructions: Choose a stain remover specifically designed for fabric. Read and follow the instructions carefully.
- Test first: Always test the product in an inconspicuous area to avoid damaging your project.
Professional Cleaning:
- For stubborn marks: If none of the above methods work, consider taking your project to a professional cleaner who specializes in delicate fabrics.
Additional Tips:
- Act quickly: The sooner you address the pen marks, the easier they may be to remove.
- Avoid scrubbing: Excessive scrubbing can damage the fabric and make the pen marks more difficult to remove.
- Be patient: Removing pen marks may take time and multiple attempts.
Remember to always test any cleaning method in an inconspicuous area of your fabric before applying it to the entire project. With patience and the right approach, you should be able to remove most pen lines without damaging your cross stitch work.
Tips for Cross Stitching on Clothes
- Use a hoop or frame to keep your fabric taut. This will make it easier to see your stitches and prevent your fabric from puckering.
- Take your time and enjoy the process. Cross stitching is a relaxing and rewarding hobby. Don’t rush through it.
- Experiment with different designs and colors. There are endless possibilities when it comes to cross stitching on clothes.
- Have fun! Cross stitching is a great way to express your creativity and have fun.
Suggestions for avoiding common mistakes
Here are some tips to help you avoid common mistakes when cross stitching on clothes:
Fabric Choice:
- Avoid stretchy fabrics: These can distort your stitches and make it difficult to maintain even tension.
- Opt for tightly woven fabrics: Such as cotton, linen, or denim, which provide a stable surface for stitching.
Thread Quality:
- Use high-quality embroidery floss: It’s strong, colorfast, and comes in a wide variety of shades.
- Avoid using yarn: It’s too bulky and can obscure your stitches.
Stitch Tension:
- Maintain consistent tension: Overtightening can cause puckering, while undertightening can result in loose stitches.
- Use a hoop or frame: This helps keep your fabric taut and makes it easier to control tension.
Design Placement:
- Consider the garment’s shape and function: Place your design in a location that won’t be affected by movement or washing.
- Avoid areas with seams or folds: These can make it difficult to stitch and may distort your design.
Transferring the Design:
- Use a water-soluble marker or transfer paper: These methods are less likely to leave permanent marks on your fabric.
- Avoid using a pencil or pen: The marks can be difficult to remove and may show through your stitches.
Finishing Techniques:
- Secure your thread ends properly: Use a knot or weave them through the back of your work to prevent them from unraveling.
- Wash your garment carefully: Use a gentle detergent and cold water to avoid damaging your stitches.
Patience and Practice:
- Take your time: Cross stitching is a slow and steady craft. Don’t rush through it.
- Practice regularly: The more you stitch, the better you’ll become at avoiding mistakes.
By following these tips, you can minimize the risk of common cross stitch errors and create beautiful, long-lasting projects.
Cross stitching on clothes is a fun and rewarding way to add a personal touch to your wardrobe. By following these simple steps, you can create beautiful and unique pieces that you’ll love wearing.

