Introduction to Tunisian Crochet
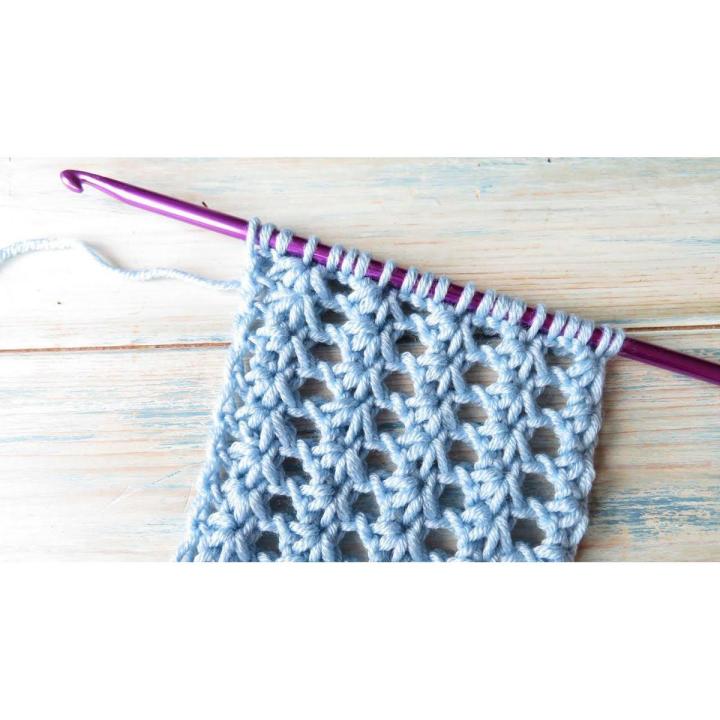
Tunisian crochet, also known as Afghan Crochet, is a fascinating craft. It blends knitting and crochet to create unique, textured fabric. Unlike knitting, it uses a special crochet hook to hold multiple loops. This technique offers diverse patterns and a dense, warm finish. Ideal for blankets, it can also make various garments and accessories.
Tunisian crochet has unique terms like ‘casting on’ and ‘casting off’, similar to knitting. When casting on, you pull loops onto the hook across a row. Casting off involves working those loops off the hook. This process forms a single row of Tunisian crochet.
The stitches in Tunisian crochet are distinct. Traditional crochet terms like ‘single crochet’ do not apply. Instead, designers use phrases like ‘forward pass’ and ‘reverse pass’. A beginner’s guide is helpful when starting with this craft. Patterns will guide you through each row, usually starting with a foundation chain.
One distinct feature is working through ‘vertical bars’. After the foundation row, vertical bars form the base for subsequent stitches. This creates the dense fabric characteristic of Tunisian crochet. Beginners can learn basic stitches such as Tunisian Simple Stitch and Knit Stitch.
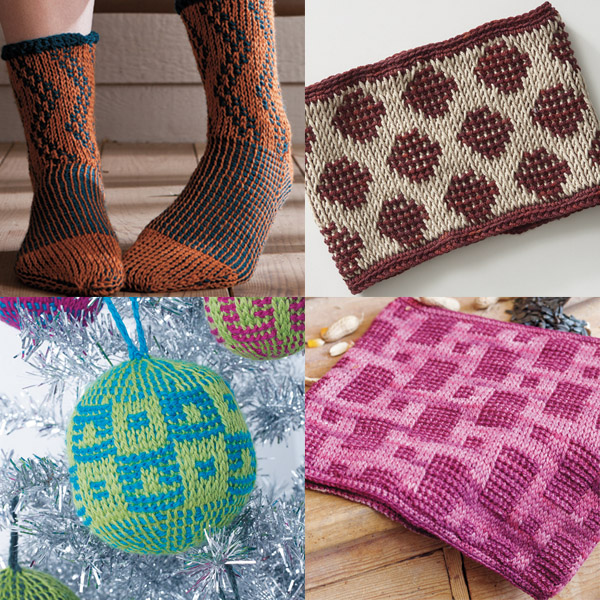
Learning Tunisian crochet opens up a world of potential projects. From pillows to throws, this craft offers ample creativity. Beginners should start with simple stitches and gradually try advanced techniques. Common beginners’ projects include blankets, scarves, and hats. With practice, Tunisian crochet can be a valuable addition to any crafter’s skill set.
Tunisian Crochet Tools and Materials
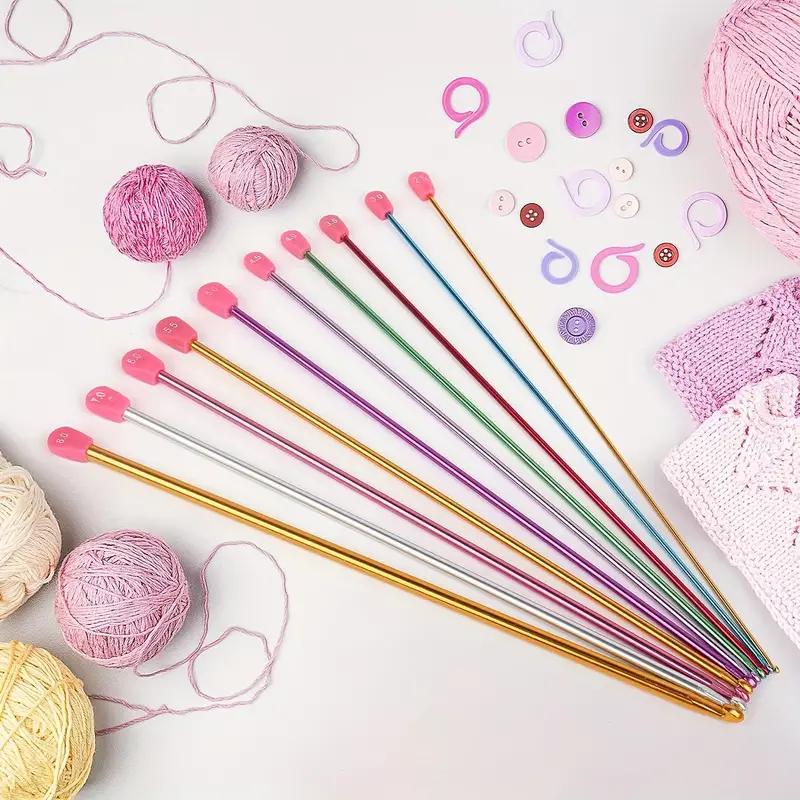
To start Tunisian crochet, you need the right tools. Essential items include a Tunisian crochet hook and yarn. You may also encounter double-ended hooks for projects in the round.
Tunisian Crochet Hooks
Tunisian crochet hooks are unique. They are longer than regular hooks and hold more loops. Some have a stopper at the end, like a knitting needle. Choose a hook size that matches your yarn.
Yarn for Tunisian Crochet
Selecting yarn for Tunisian crochet is vital. The yarn’s weight and fiber type affect the texture and drape of your project. Heavier yarns work well for blankets, while lighter yarns are suitable for clothing.
Additional Tools
Other tools can help your Tunisian crochet projects. Stitch markers prevent loops from slipping off the hook. A yarn needle will help weave in ends. Scissors are also a must for cutting yarn. Cable hooks come in handy for large projects with many loops.
Remember, the key to Tunisian crochet is consistency in tension. A hook that feels comfortable in your hand will help maintain even stitches. Happy crocheting!
Getting Started: Making the Foundation Chain and First Row
Begin your Tunisian crochet adventure with the foundation chain, the starting point for most projects. Here’s how to create one and execute the first row:
Crafting the Foundation Chain
- Choose your yarn and matching Tunisian crochet hook.
- Create a slip knot and place it on your hook.
- Crochet a chain as you would in standard crochet.
- Ensure your chain is not too tight; it forms the base of your work.
First Row in Tunisian Crochet
- Start with the second chain from the hook.
- Insert your hook, yarn over, and pull up a loop.
- Keep the loop on your hook.
- Continue this process across the entire chain.
- This completes the ‘forward pass’ of your first Tunisian row.
Casting Off the First Row
- Yarn over and draw through one loop on the hook.
- Now yarn over and draw through two loops.
- Repeat the second step until one loop remains on the hook.
- This ‘reverse pass’ finishes your first Tunisian crochet row.
Getting started is straightforward once you learn the basic steps. Practice the foundation chain and first row until you’re comfortable. Soon, you’ll be ready to explore the variety of stitches Tunisian crochet offers. Remember, maintain even tension for consistent results, and use stitch markers to keep your place. Happy crocheting!
Basic Tunisian Crochet Stitches Explained
Tunisian crochet has its own unique set of stitches unlike traditional crochet. The distinctive fabric results from how you insert the hook and work the stitches. Below, we’ll explore some basic Tunisian crochet stitches to add to your skill set.
Tunisian Simple Stitch (Tss)
Often the first stitch learned, the Tunisian Simple Stitch creates a dense, woven texture. Here’s how to do it:
- Start with a forward pass, pulling up loops from the vertical bars formed in your foundation row.
- Insert the hook from right to left under the front vertical bar.
- Yarn over and draw up a loop.
- Keep the loop on the hook and continue across.
Tunisian Knit Stitch (Tks)
This stitch resembles knitting and brings a classic look. To work the Tunisian Knit Stitch:
- Insert your hook between the front and back vertical bars of the same loop.
- Yarn over and pull up a loop.
- Keep loops on the hook and move on to the next stitch.
Tunisian Reverse Stitch (Trs)
Adding a unique texture, this stitch works into the back vertical bar. The steps are similar to the Simple Stitch but in reverse position. Here’s how you do it:
- Skip the edge vertical bar.
- Insert your hook from right to left behind the back vertical bar.
- Yarn over and draw up a loop.
- Repeat across, leaving loops on your hook.
These three basic stitches lay the foundation for numerous Tunisian crochet patterns. Master these, and you’ll be well-prepared to tackle more intricate designs. Remember, maintaining even tension is crucial for a polished look.
Working in the Round with Tunisian Crochet
Working in the round with Tunisian crochet opens new project possibilities. This method is different from standard rows and requires special tools. Below are steps to help you master this technique.
Understanding the Tools
To crochet in the round, you’ll need specific hooks. A double-ended Tunisian crochet hook allows for circular projects. Circular hooks with a flexible cable can hold more loops.
Starting Your Project
- Choose a double-ended or circular hook.
- Make a foundation chain and join it into a circle.
The Process
- Work the forward pass as usual, adding loops to your hook.
- For circular hooks, use the reverse pass to complete the round.
- With double-ended hooks, switch ends to work off loops in sections.
Tips for Success
- Use stitch markers to mark the start of rounds.
- Maintain an even tension to prevent distortion.
Working Tunisian crochet in the round is creative and rewarding. Practice with small projects like hats and bags. As you gain confidence, larger circular projects will become more accessible.
Adding Color and Texture: Advanced Tunisian Crochet Techniques
Moving beyond the basics, Tunisian crochet offers advanced techniques. These add color and texture, enhancing your projects. Let’s delve into these methods.
Incorporating Color
Color work can transform a simple Tunisian crochet piece. The main approaches are:
- Using multiple yarns within a row.
- Changing yarn colors at the end of a row.
- Incorporating color blocks into your design.
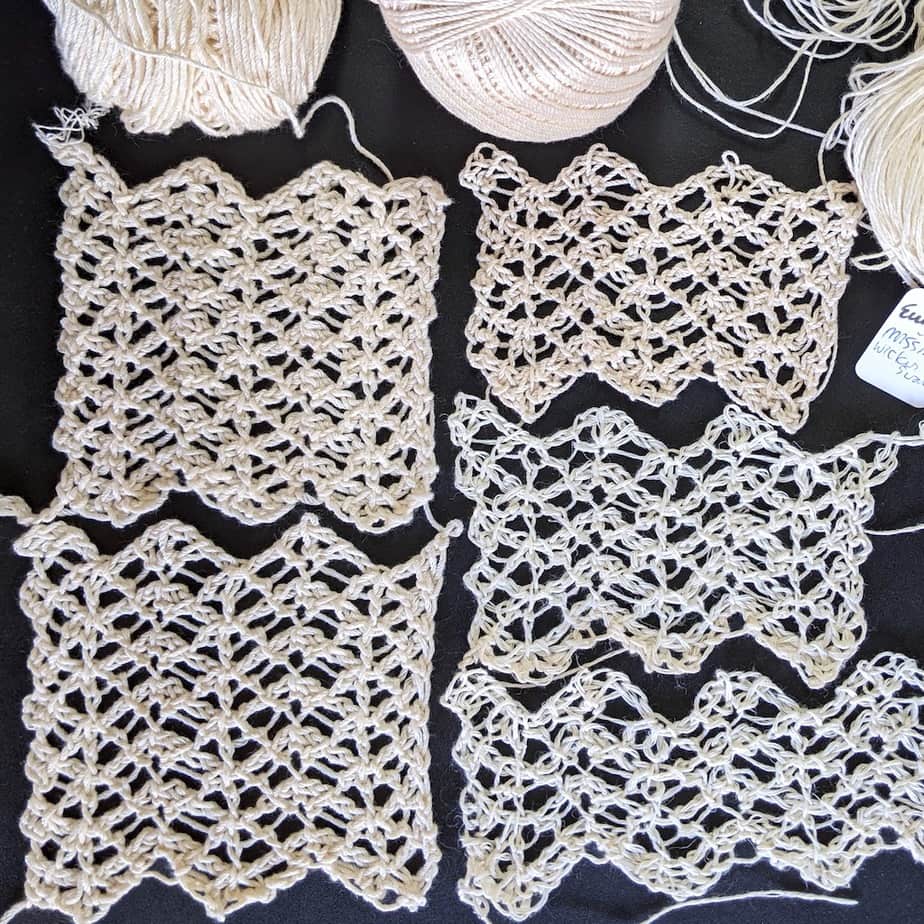
Strategically placed color changes create patterns. Practice with swatches to see how colors interact.
Creating Texture
Texture adds depth to your crochet. Try these stitches:
- Tunisian Purl Stitch (Tps) looks like a knit purl. It’s worked by bringing the yarn to the front, then crocheting.
- Tunisian Bobble Stitch creates raised dots. Similar to bobbles in traditional crochet, yarn is worked several times in one stitch.
- Tunisian Smock Stitch gives a honeycomb texture. It involves a specific hook insertion method.
Using post stitches like front post and back post can mimic knitted ribbing. Watch tutorials to master these stitches.
Advanced Techniques
Spice up your crochet with:
- Twisted Stitches for a diagonal effect.
- Tunisian Double Crochet (Tdc) for height in stitches.
- Crossed Stitches by skipping bars and working back into them.
Each technique comes with new challenges. Take your time to learn and perfect. Find patterns that guide you through the process step by step.
Advanced Tunisian crochet can be daunting but rewarding. Your effort pays off with beautiful, textured creations. Remember to keep your tension even and practice frequently. Happy crocheting!
Finishing Techniques in Tunisian Crochet
Finishing your Tunisian crochet work properly is key to a polished project. Even the most beautifully executed stitches can be marred by improper finishing. There are several techniques to neatly complete your Tunisian crochet items.
Binding Off
To finish your fabric, you’ll need to bind off. This process secures the final loops on your hook and creates a neat edge. Here’s a simple way to bind off:
- Work a Tunisian simple stitch into the first vertical bar.
- Before moving on, pull this loop through the loop on your hook.
- Repeat for each stitch across the row.
Edge Stitching
After binding off, edge stitching adds a professional touch. It can also help to stabilize edges. Use a slip stitch, single crochet, or crab stitch around the edge. This defines the border and adds strength.
Blocking
Blocking is shaping your finished piece. It relaxes the fibers and evens out the stitches. You can pin your work on a blocking board or use steam. Blocking is especially helpful for garments and lacework.
Weaving in Ends
Secure yarn tails can be a challenge. Weave in your ends back and forth through the stitches. This hides any loose tails and prevents unraveling.
Seaming
If your project is in pieces, you’ll need to seam them together. Use yarn that matches your piece and a yarn needle. Whip stitch or mattress stitch usually work best. Take care to line up stitches so seams are invisible.
Finishing methods enhance the longevity and appearance of your crafts. Always take the time to finish your Tunisian tricot projects with care.
Popular Tunisian Crochet Projects for Beginners
As you embark on your Tunisian tricot journey, starting with simple projects can help build confidence and skill. Here are a few popular beginner-friendly Tunisian tricot projects to consider.
Blankets and Throws
One of the most common Tunisian tricot projects is creating blankets and throws. The dense, warm fabric created by Tunisian tricot stitches is perfect for cozying up on chilly days. Beginners can start with a basic Tunisian Simple Stitch (Tss) for a simple yet elegant look.
Scarves
A scarf is an ideal project for those just learning Tunisian tricot. With a long, narrow shape, it offers practice on consistency and tension. Using a variety of basic stitches can add texture and interest to your project.
Pillows
Tunisian tricot also lends itself well to home decor. Pillows made with Tunisian tricot add a touch of handcrafted charm to any room. Try using a mix of Simple Stitch and Knit Stitch (Tks) for an attractive texture.
Hats
For a project that is a bit more challenging, consider making a hat using Tunisian tricot in the round. This helps beginners learn how to manage circular Tunisian tricot hooks and techniques.
Dishcloths
Practice Tunisian tricot and create something useful by making dishcloths. They are quick to work up, and you can experiment with different stitches to create various patterns.
Starting with these simple projects allows you to become familiar with basic Tunisian tricot stitches and techniques. As you gain confidence, you’ll be ready to tackle more complex patterns and intricate designs. Remember to keep practicing, and most importantly, enjoy your crafting time!