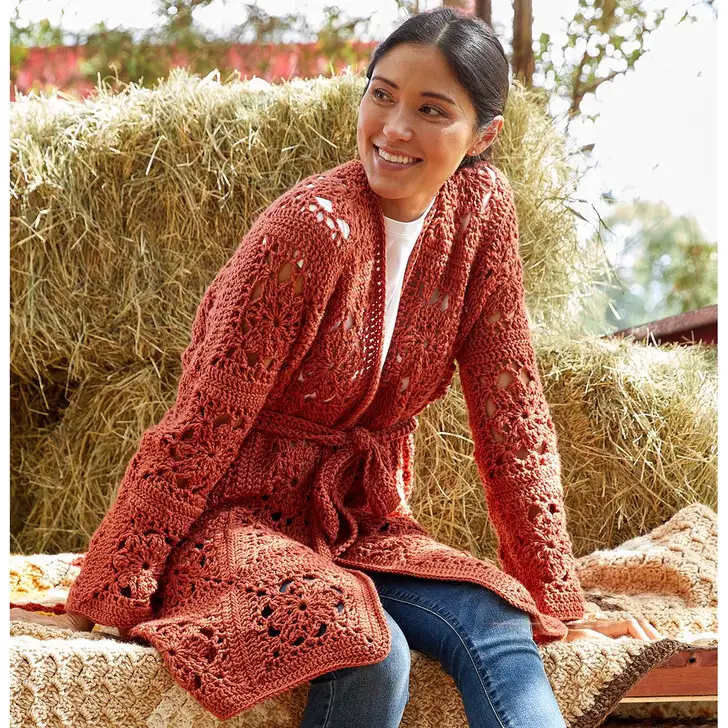
Crocheting a cardigan is a wonderful project, offering both comfort and creative expression. Whether you’re a seasoned crocheter or just starting out, a cardigan is a versatile garment that you’ll reach for time and again. This comprehensive guide will walk you through everything you need to know, from choosing the right yarn and hook to stitching beautiful seams and adding finishing touches. So, grab your crochet hook, gather your supplies, and get ready to create a cozy companion!
Choosing Your Supplies: Hook, Yarn, and More
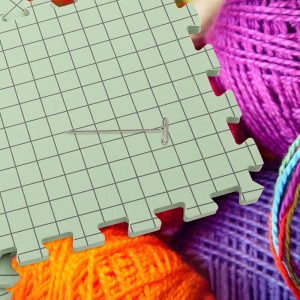
Before diving into stitches, it’s important to assemble your crocheting toolkit.
-
Hook: Select a crochet hook size appropriate for your chosen yarn weight. Yarns typically have a recommended hook size listed on the label. A good rule of thumb is to choose a hook that allows the stitches to drape nicely, not too tight or loose.
-
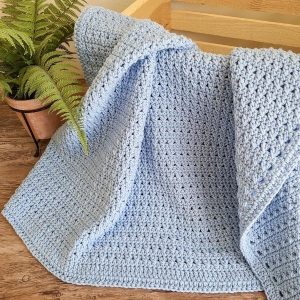
Yarn: The world of yarn offers endless possibilities! Consider factors like weight, fiber content, and color. For cardigans, worsted weight yarn is a popular choice, offering a balance between warmth and drape. Acrylic or acrylic blends are commonly used for their affordability and ease of care, while natural fibers like wool or cotton provide excellent breathability.
-
Additional Supplies: You’ll also need a yarn needle for weaving in ends, tapestry needles for sewing seams, stitch markers (optional) to keep track of your pattern, and scissors.

Learning Essential Stitches
With your supplies in hand, let’s explore some fundamental crochet stitches that will form the foundation of your cardigan:
- The Chain Stitch: This basic stitch is the building block for many other crochet techniques. To make a chain stitch, loop the yarn around your hook, pull the new loop through the loop already on your hook. Repeat for the desired length.
- The Single Crochet Stitch: Often abbreviated as sc, the single crochet stitch is the foundation for many crochet projects. Insert your hook under both loops of the next chain, yarn over, pull up a loop, yarn over, and pull through two loops on your hook.
- The Double Crochet Stitch: Similar to the single crochet but taller, the double crochet stitch (dc) creates a more textured fabric. Insert your hook under both loops of the next chain, yarn over, pull up a loop (you will have three loops on your hook), yarn over, and pull through all three loops.
Once you’ve mastered these essential stitches, you’re ready to move on to more complex patterns!
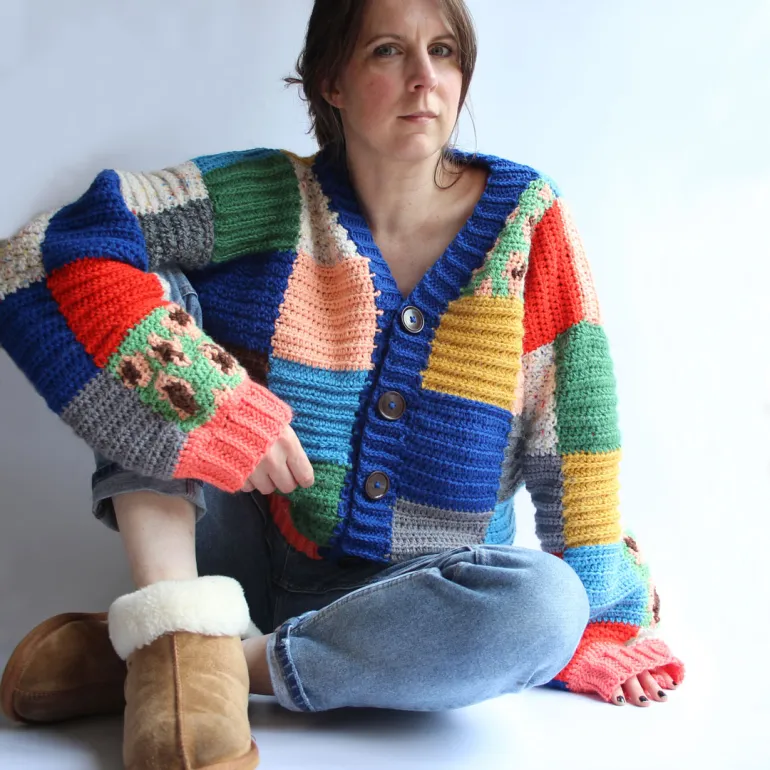
Selecting the Perfect Crochet Cardigan Pattern
The beauty of crocheting your own cardigan lies in the endless design possibilities. There are patterns for every skill level and style preference. Here are some factors to consider when choosing a pattern:
- Skill Level: Are you a beginner, intermediate, or advanced crocheter? Choose a pattern that matches your comfort level to avoid frustration.
- Style: Do you prefer a long, flowing cardigan or a cropped, fitted style? Consider how you’ll wear your garment.
- Features: Do you want pockets, a hood, or buttons? Choose a pattern with the features that suit your taste.
Many websites and books offer free and paid crochet cardigan patterns. Look for patterns with clear instructions, well-written charts (if applicable), and high-quality photos for reference.
Crocheting Your Cardigan Body
Now comes the exciting part: creating the body of your cardigan! Most cardigans are constructed from two rectangular panels, crocheted from the bottom up or top down. The pattern you choose will specify which method to follow. Here’s a general overview:
- Start with a Foundation Chain: Chain the desired number of stitches to establish the width of your cardigan back.
- Work Rows in Pattern Stitch: Following your chosen pattern, crochet rows using the specified stitches.
- Create Armholes: The pattern will instruct you on when and how many stitches to skip to create armholes.
- Work the Fronts: Once the back panel is complete, crochet the two front panels individually, shaping the necklines as instructed.
Here are some handy tips for crocheting the body of your cardigan:
- Maintain Consistent Tension: Aim for even stitch tension throughout your work for a neat and professional finish.
- Use Stitch Markers: These helpful tools can mark the beginning of each row, armholes, and other important points in your pattern.
- Check Your Gauge: Gauge refers to the number of stitches and rows in a specific area of your crocheting. It’s essential to check your gauge against the pattern’s gauge to ensure your finished garment will be the right size.
Seaming and Finishing Touches
Once you’ve crocheted the back and front panels, it’s time to assemble your cardigan! Here’s how:
- Shoulder Seams: Sew the shoulder seams together using a tapestry needle and mattress stitch. This creates a neat and invisible seam.
- Side Seams: Leaving an opening for the sleeves, sew the side seams together using a mattress stitch or another seam technique specified in your pattern.
Shaping the Sleeves:
- Pick Up Stitches: Around the armhole openings of both the cardigan body and the crocheted sleeves, pick up stitches using your crochet hook according to your pattern’s instructions.
- Join and Work Sleeve: Connect the picked-up stitches from the sleeve to the corresponding stitches on the armhole opening, creating a circular motion. Work rows in your pattern stitch until the sleeve reaches the desired length.
- Decrease for Cuff: The pattern will instruct you on how to decrease stitches at the wrist to create a fitted cuff.
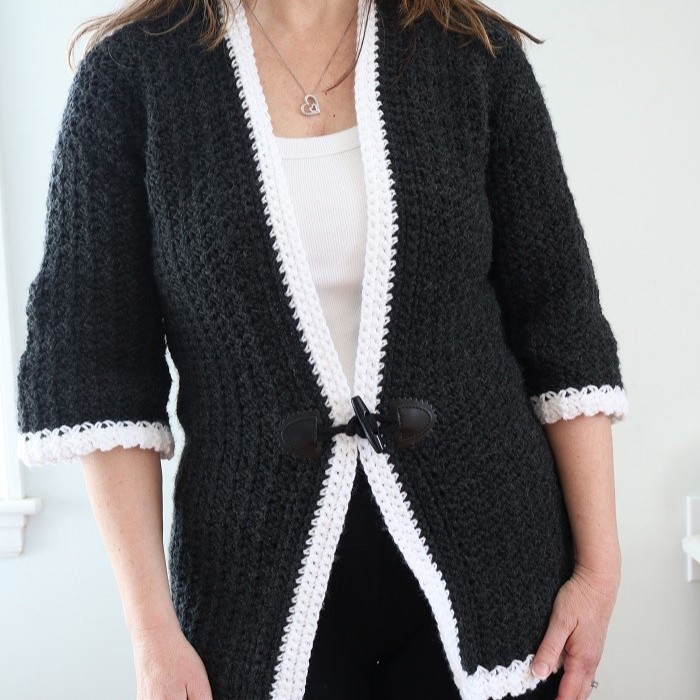
Adding Closures (Optional):
- Buttons and Buttonholes: For a classic look, sew buttons onto one front panel and create corresponding buttonholes on the other.
- Ties: Crochet or sew on ties at the front of your cardigan for a more relaxed style.
Finishing Touches:
- Weave in Ends: Use a yarn needle to neatly weave in all loose yarn ends on the inside of your cardigan.
- Blocking (Optional): While not essential for all projects, blocking can help your cardigan achieve its intended shape and drape. Gently mist your cardigan with water and pin it out to dry flat according to specified measurements.
Proper Storage Tips
Now that you’ve crocheted a beautiful cardigan, you’ll want to ensure it stays looking its best for years to come. Here are some key tips for storing your crocheted cardigan:
- Cool, Dry Place: Store your cardigan in a cool, dry location. Avoid damp basements, attics, or areas prone to moisture buildup, which can lead to mildew or mold growth.
- Folding vs. Hanging: Heavy cardigans or those made with delicate yarns are best folded and stored on a shelf. Lighter cardigans can be hung on padded hangers to avoid stretching or misshaping.
- Breathable Storage: Opt for breathable storage containers like cotton canvas bins or woven baskets. Avoid airtight plastic containers, which can trap moisture and create a breeding ground for mold.
- Cedar Blocks or Sachets: Cedarwood repels moths and other insects that can damage your yarn. Consider placing cedar blocks or sachets filled with dried lavender or rosemary in your storage area for added protection.
- Wash and Dry Before Storage: Before storing your cardigan for an extended period, wash it according to the yarn care instructions (usually handwashing or delicate cycle) and dry it completely flat or on a drying rack.
Showcasing Your Creation: Wear with Confidence!
Congratulations! You’ve crocheted your very own cardigan. Take a moment to admire your handiwork. Wear your creation with pride, knowing you’ve crafted a beautiful and unique piece.
Crocheting your cardigan opens the door to further exploration!
- Experiment with Different Stitches and Techniques: There’s a vast world of crochet stitches to discover, each adding unique textures and patterns to your projects.
- Try New Yarns and Fibers: Explore different yarn weights, fibers, and colors to create cardigans for every season and occasion.
- Embellish and Personalize: Add buttons, ribbons, or fringe to your cardigan for a touch of personality.
Crocheting offers a delightful blend of relaxation and creative expression. With each project, you’ll develop your skills and gain the confidence to tackle more intricate designs. So, keep crocheting, keep creating, and keep cozy in your handmade cardigans!